Last time I wrote about fixing a LEXON MINA whose neck was broken.

I thought I’d reinforced it enough that it would last forever…
But the kids broke it again.
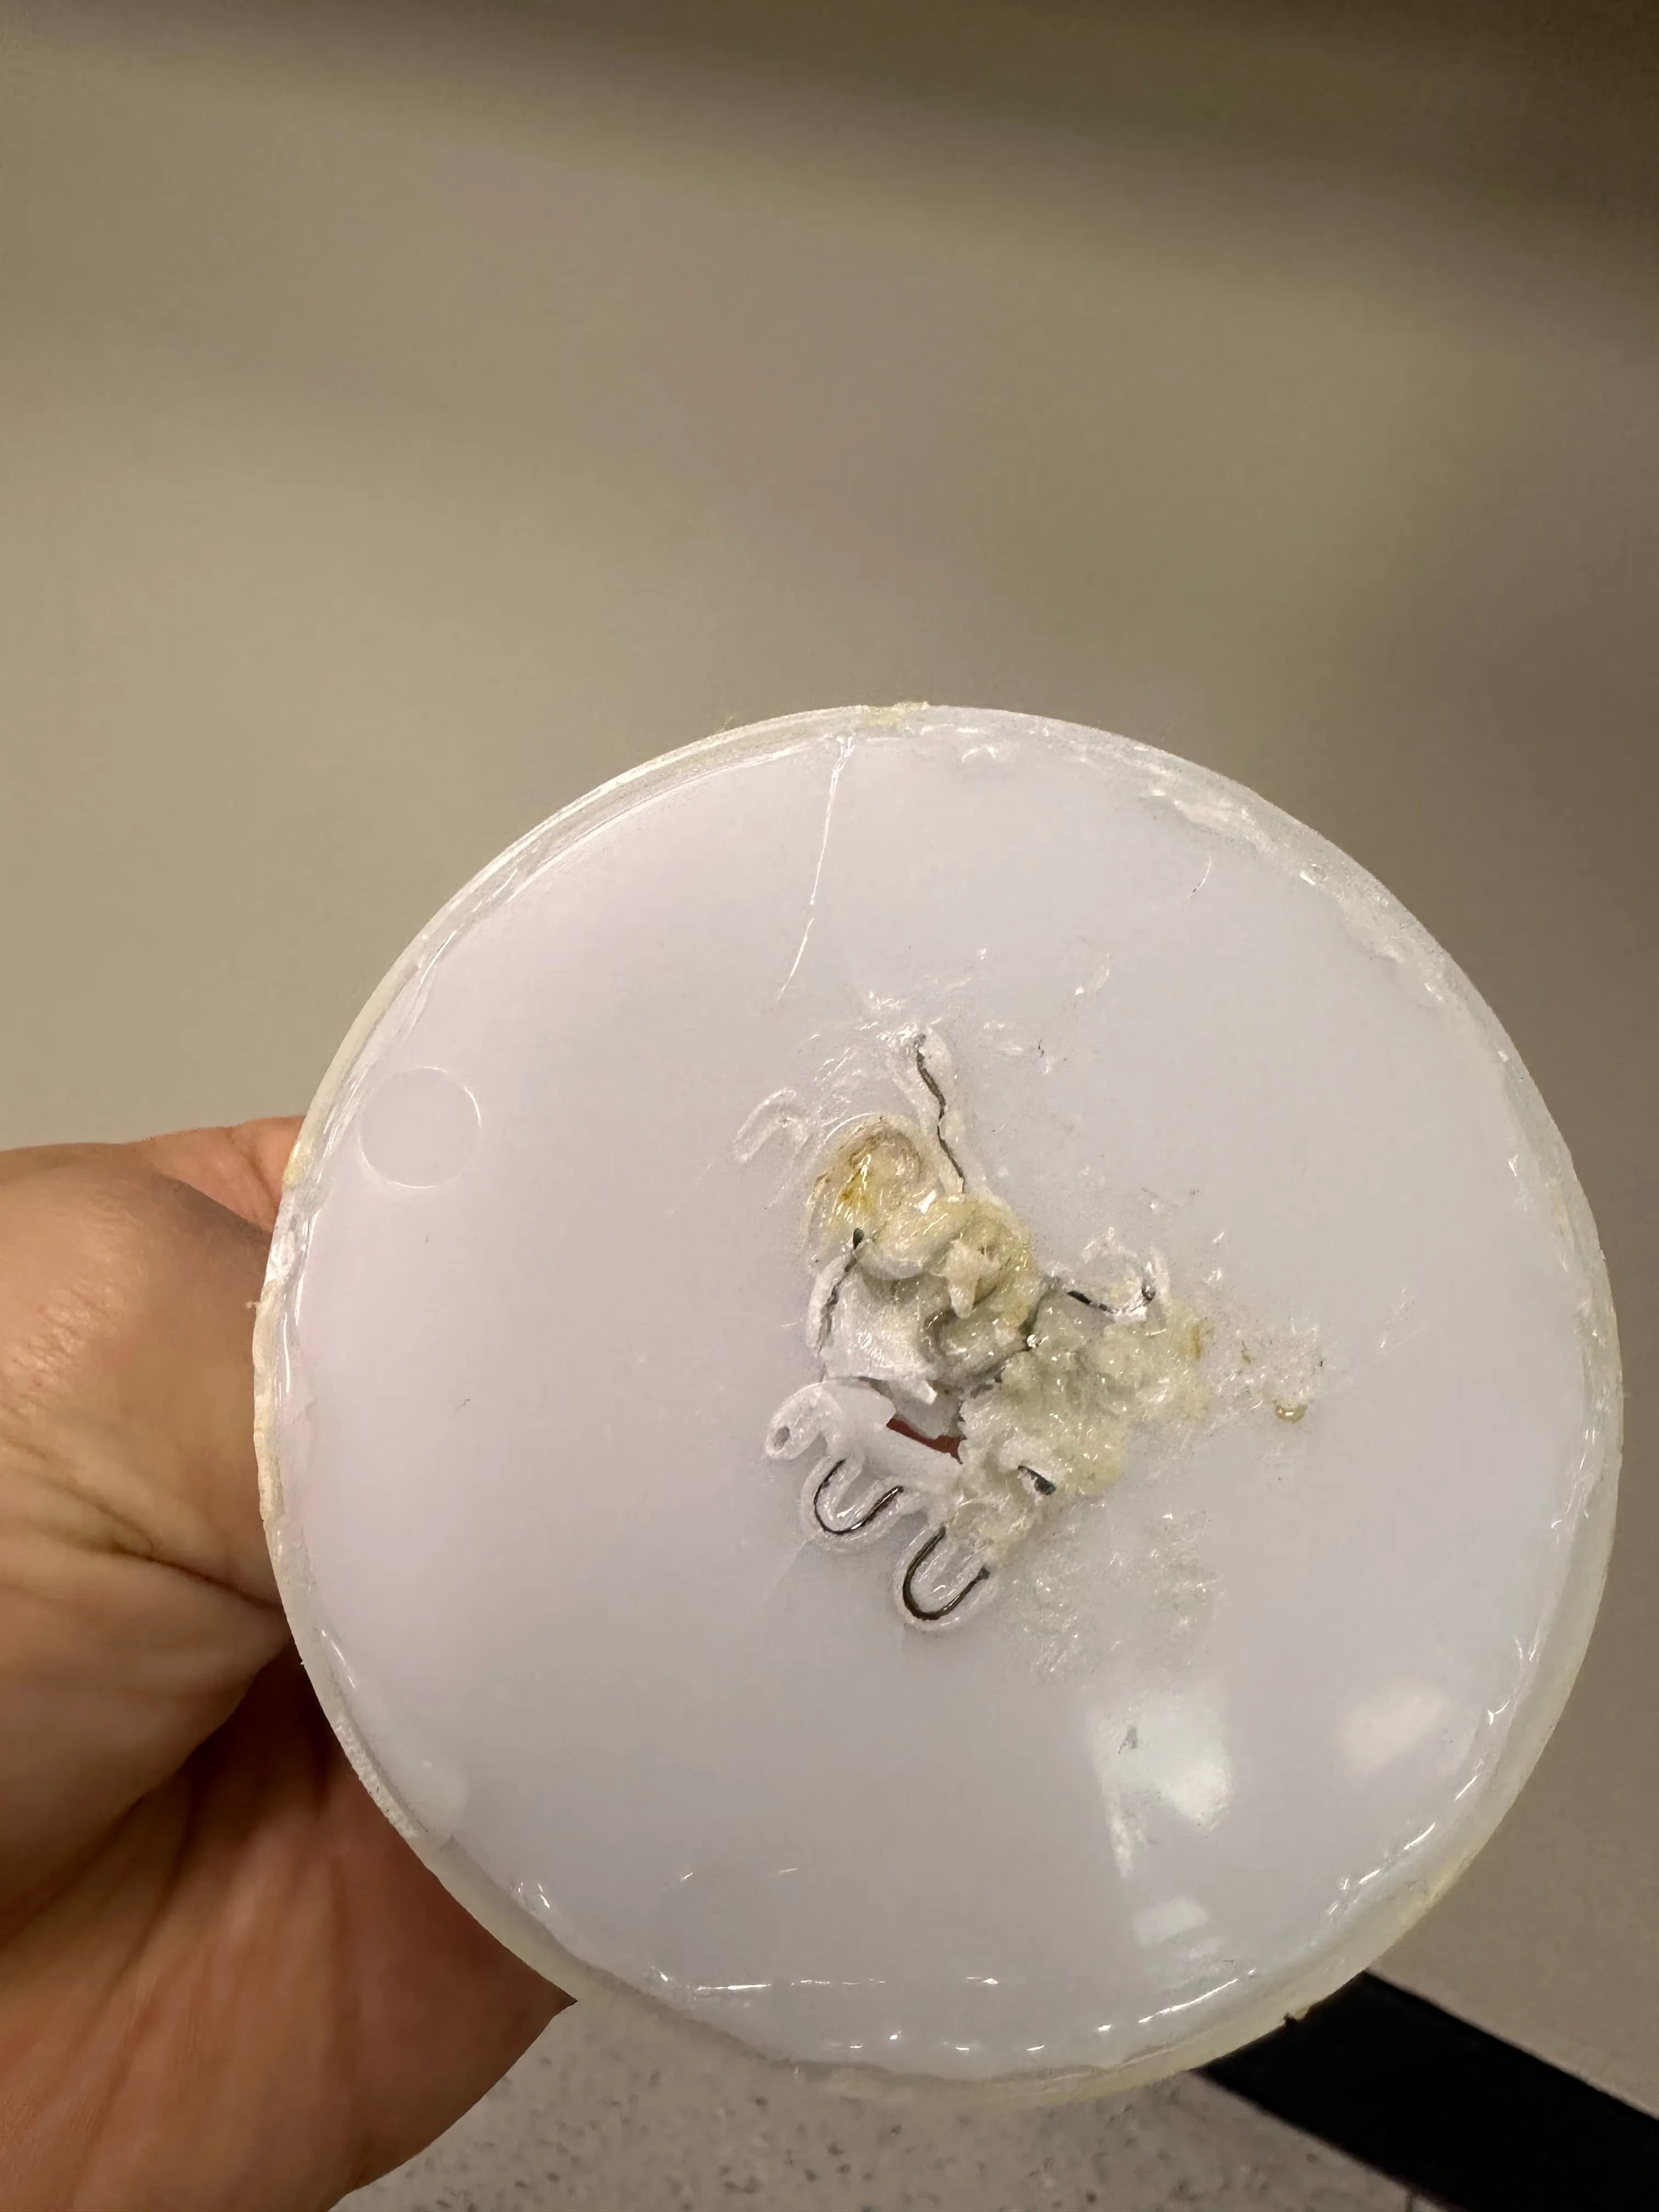
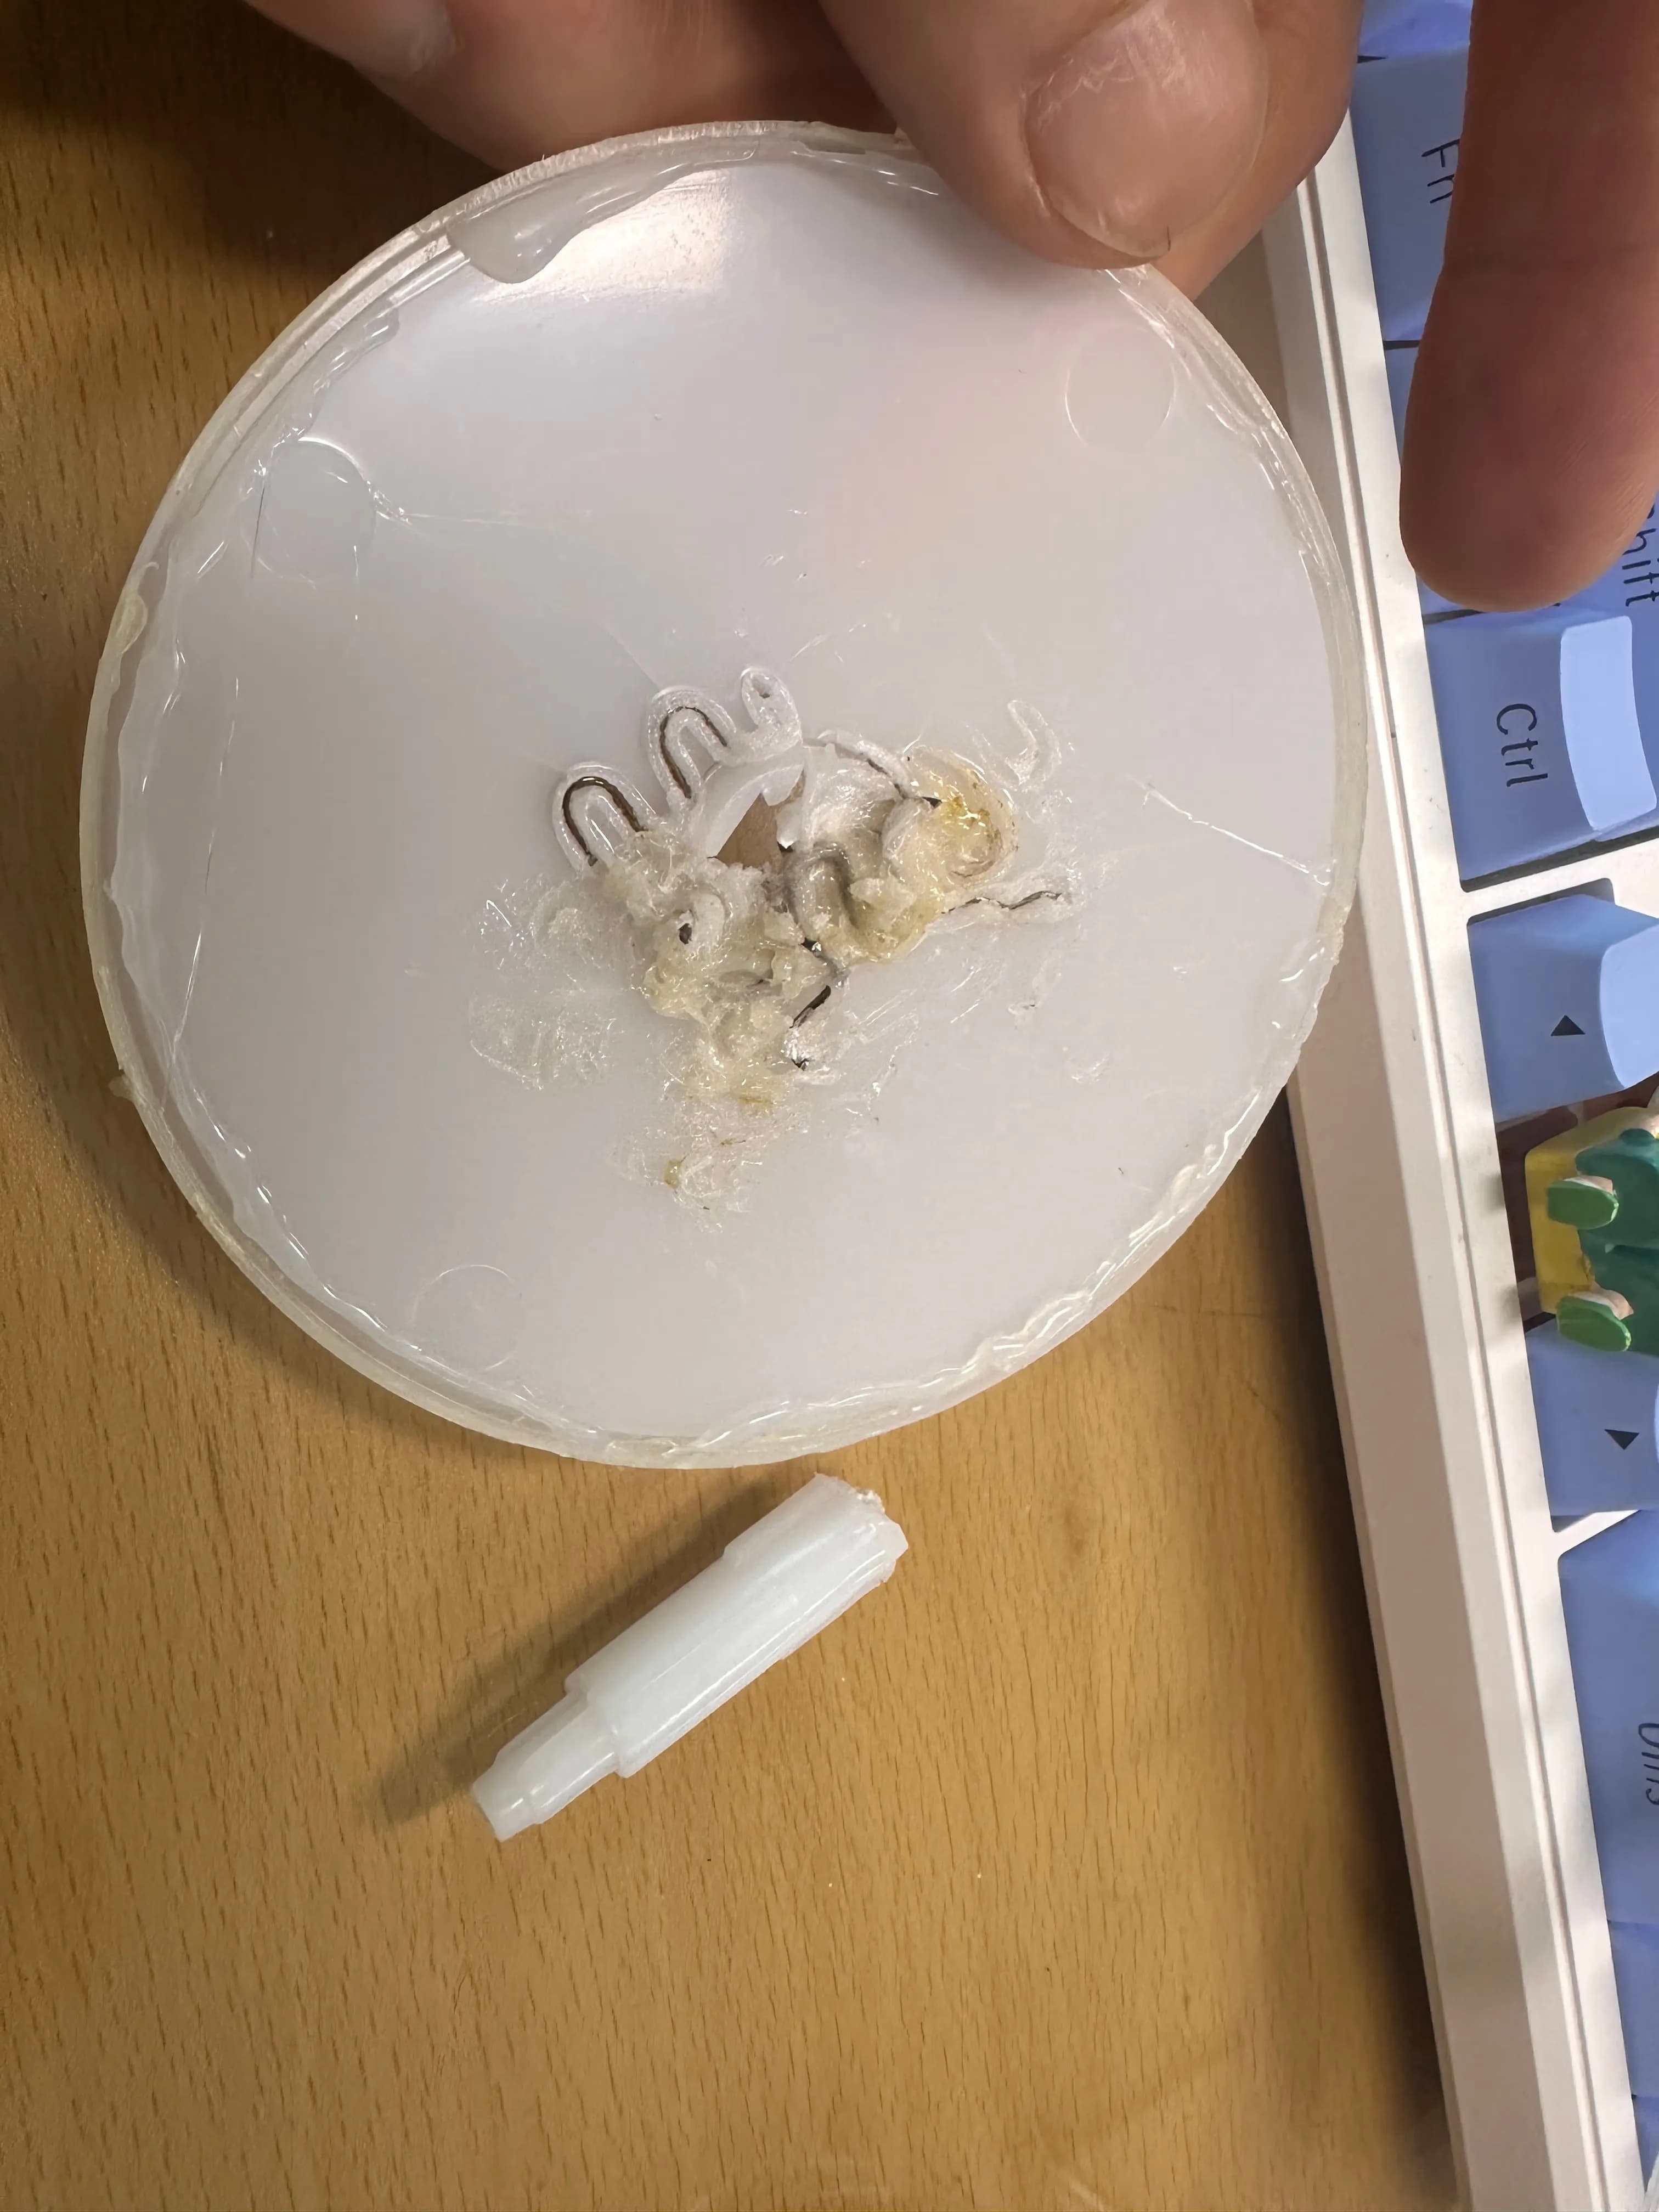
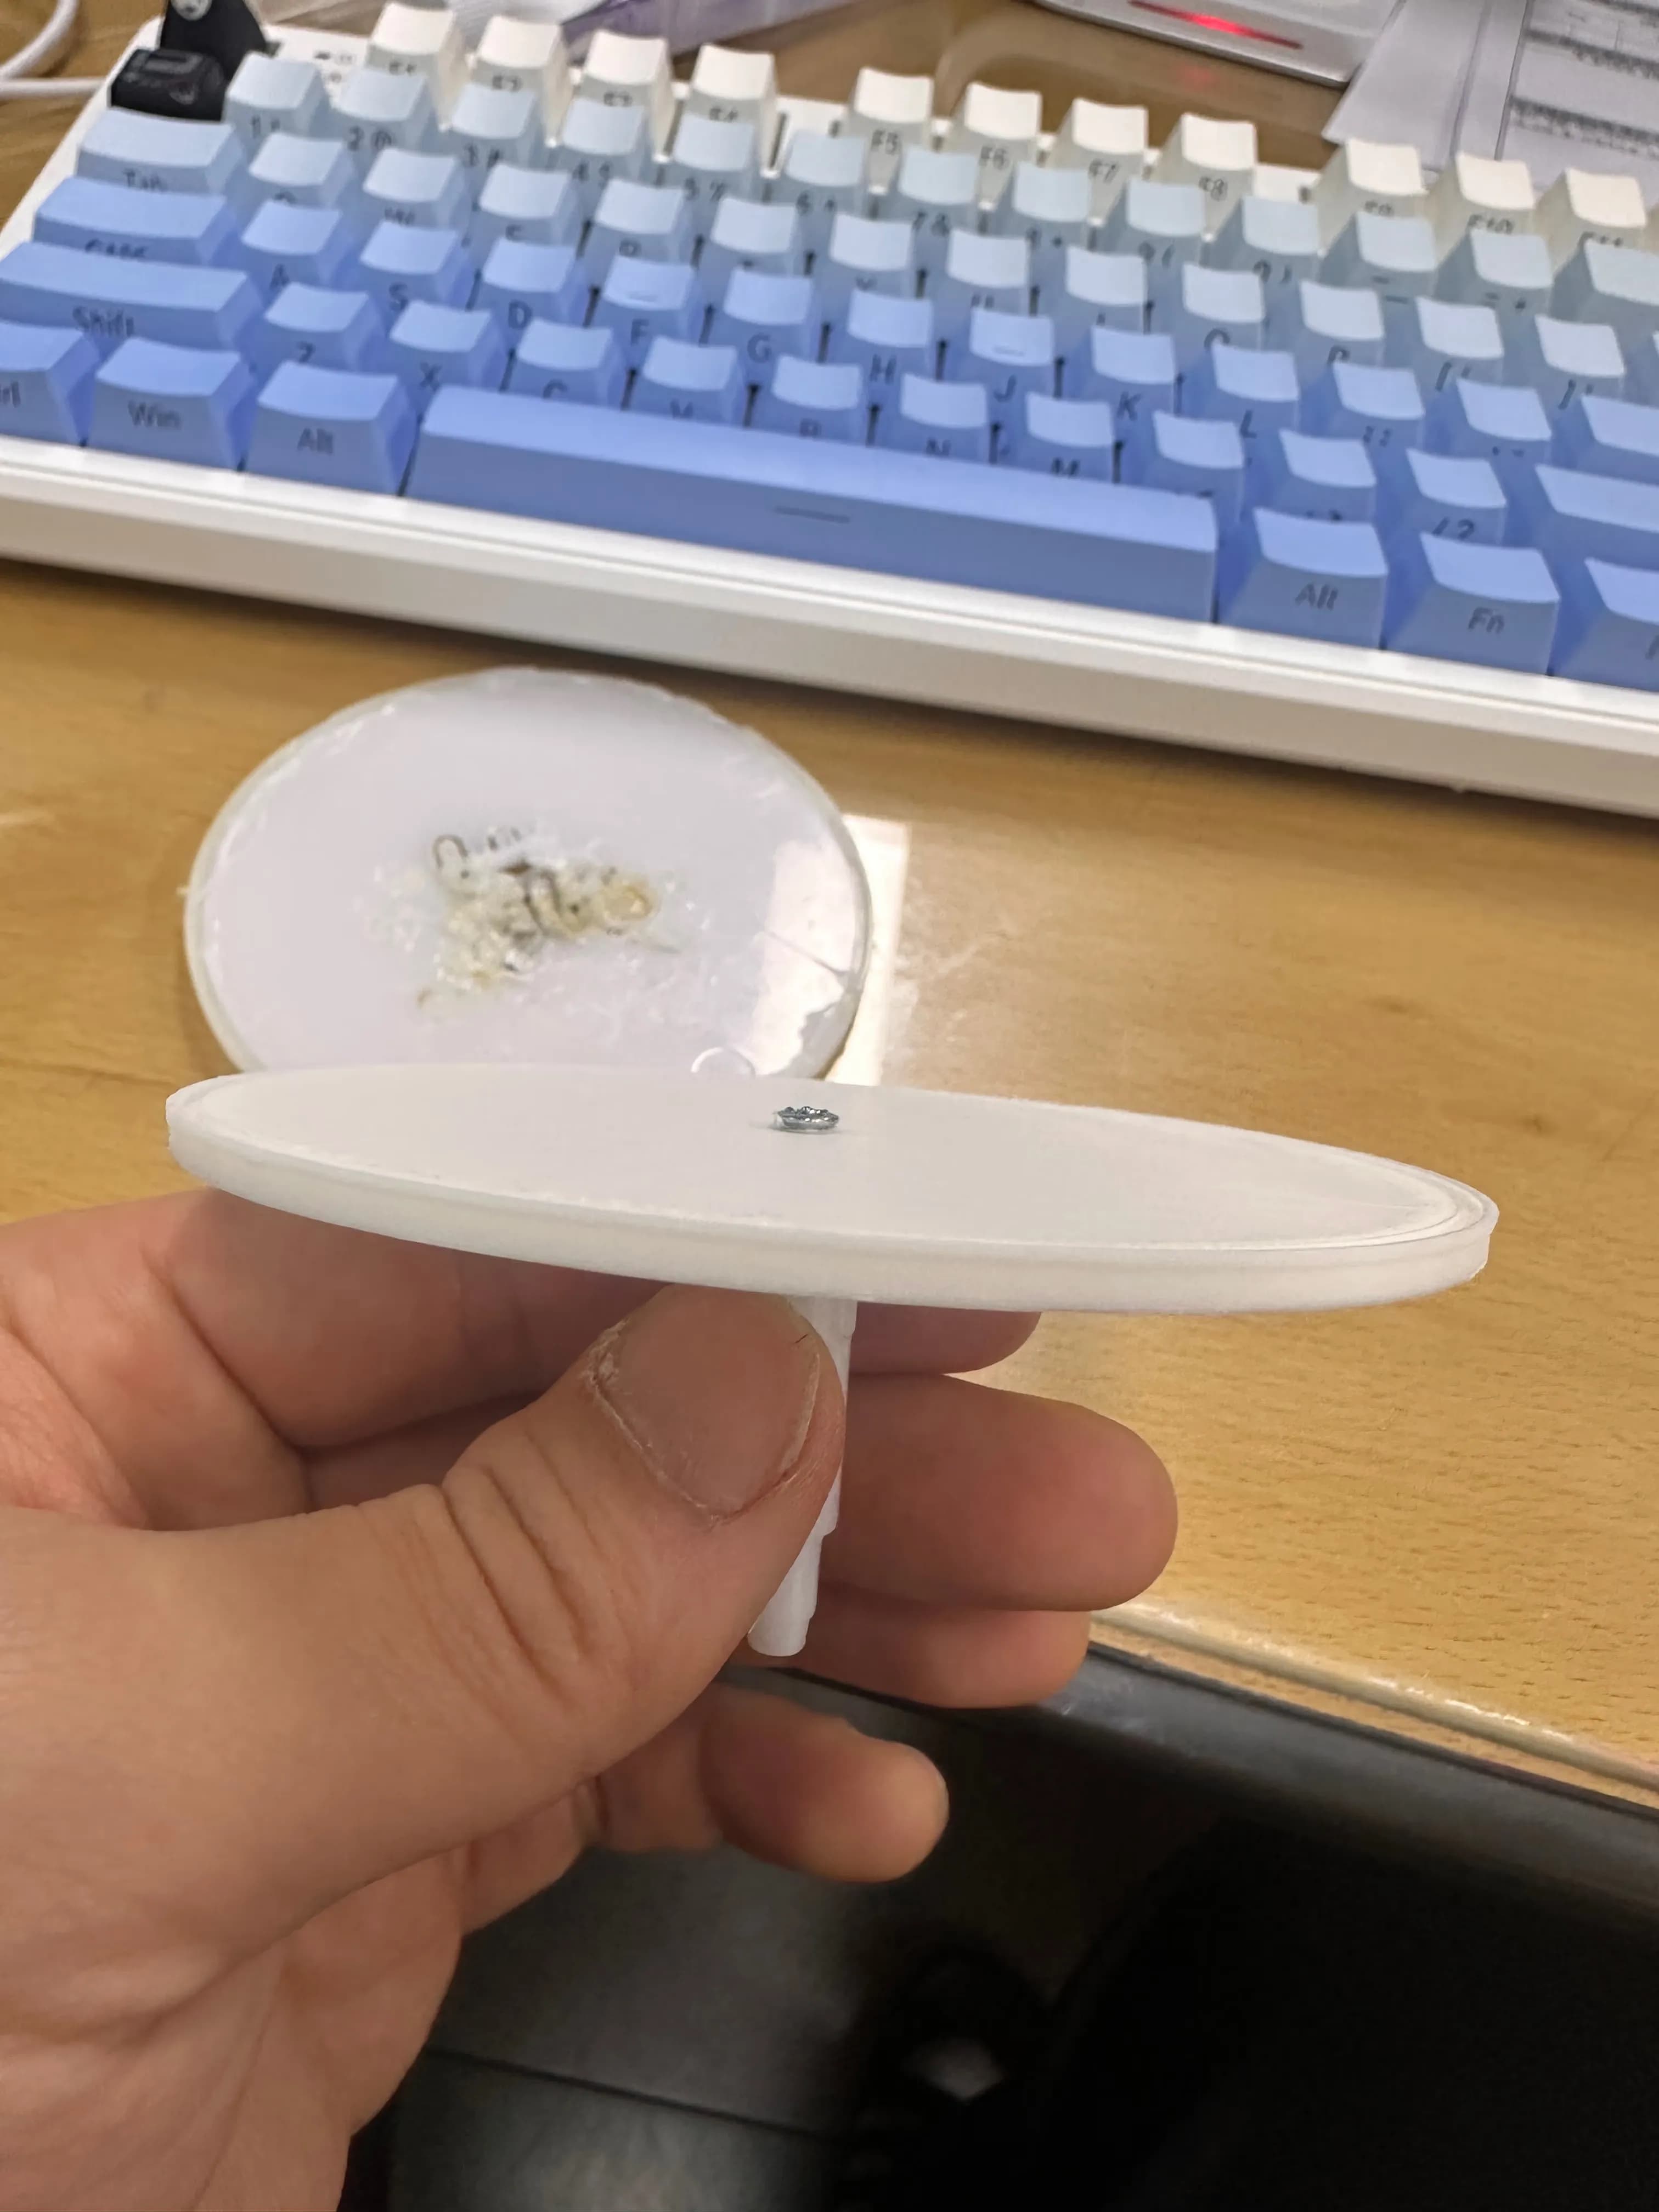
This time the bottom plate snapped, so the switch wouldn’t press properly anymore.
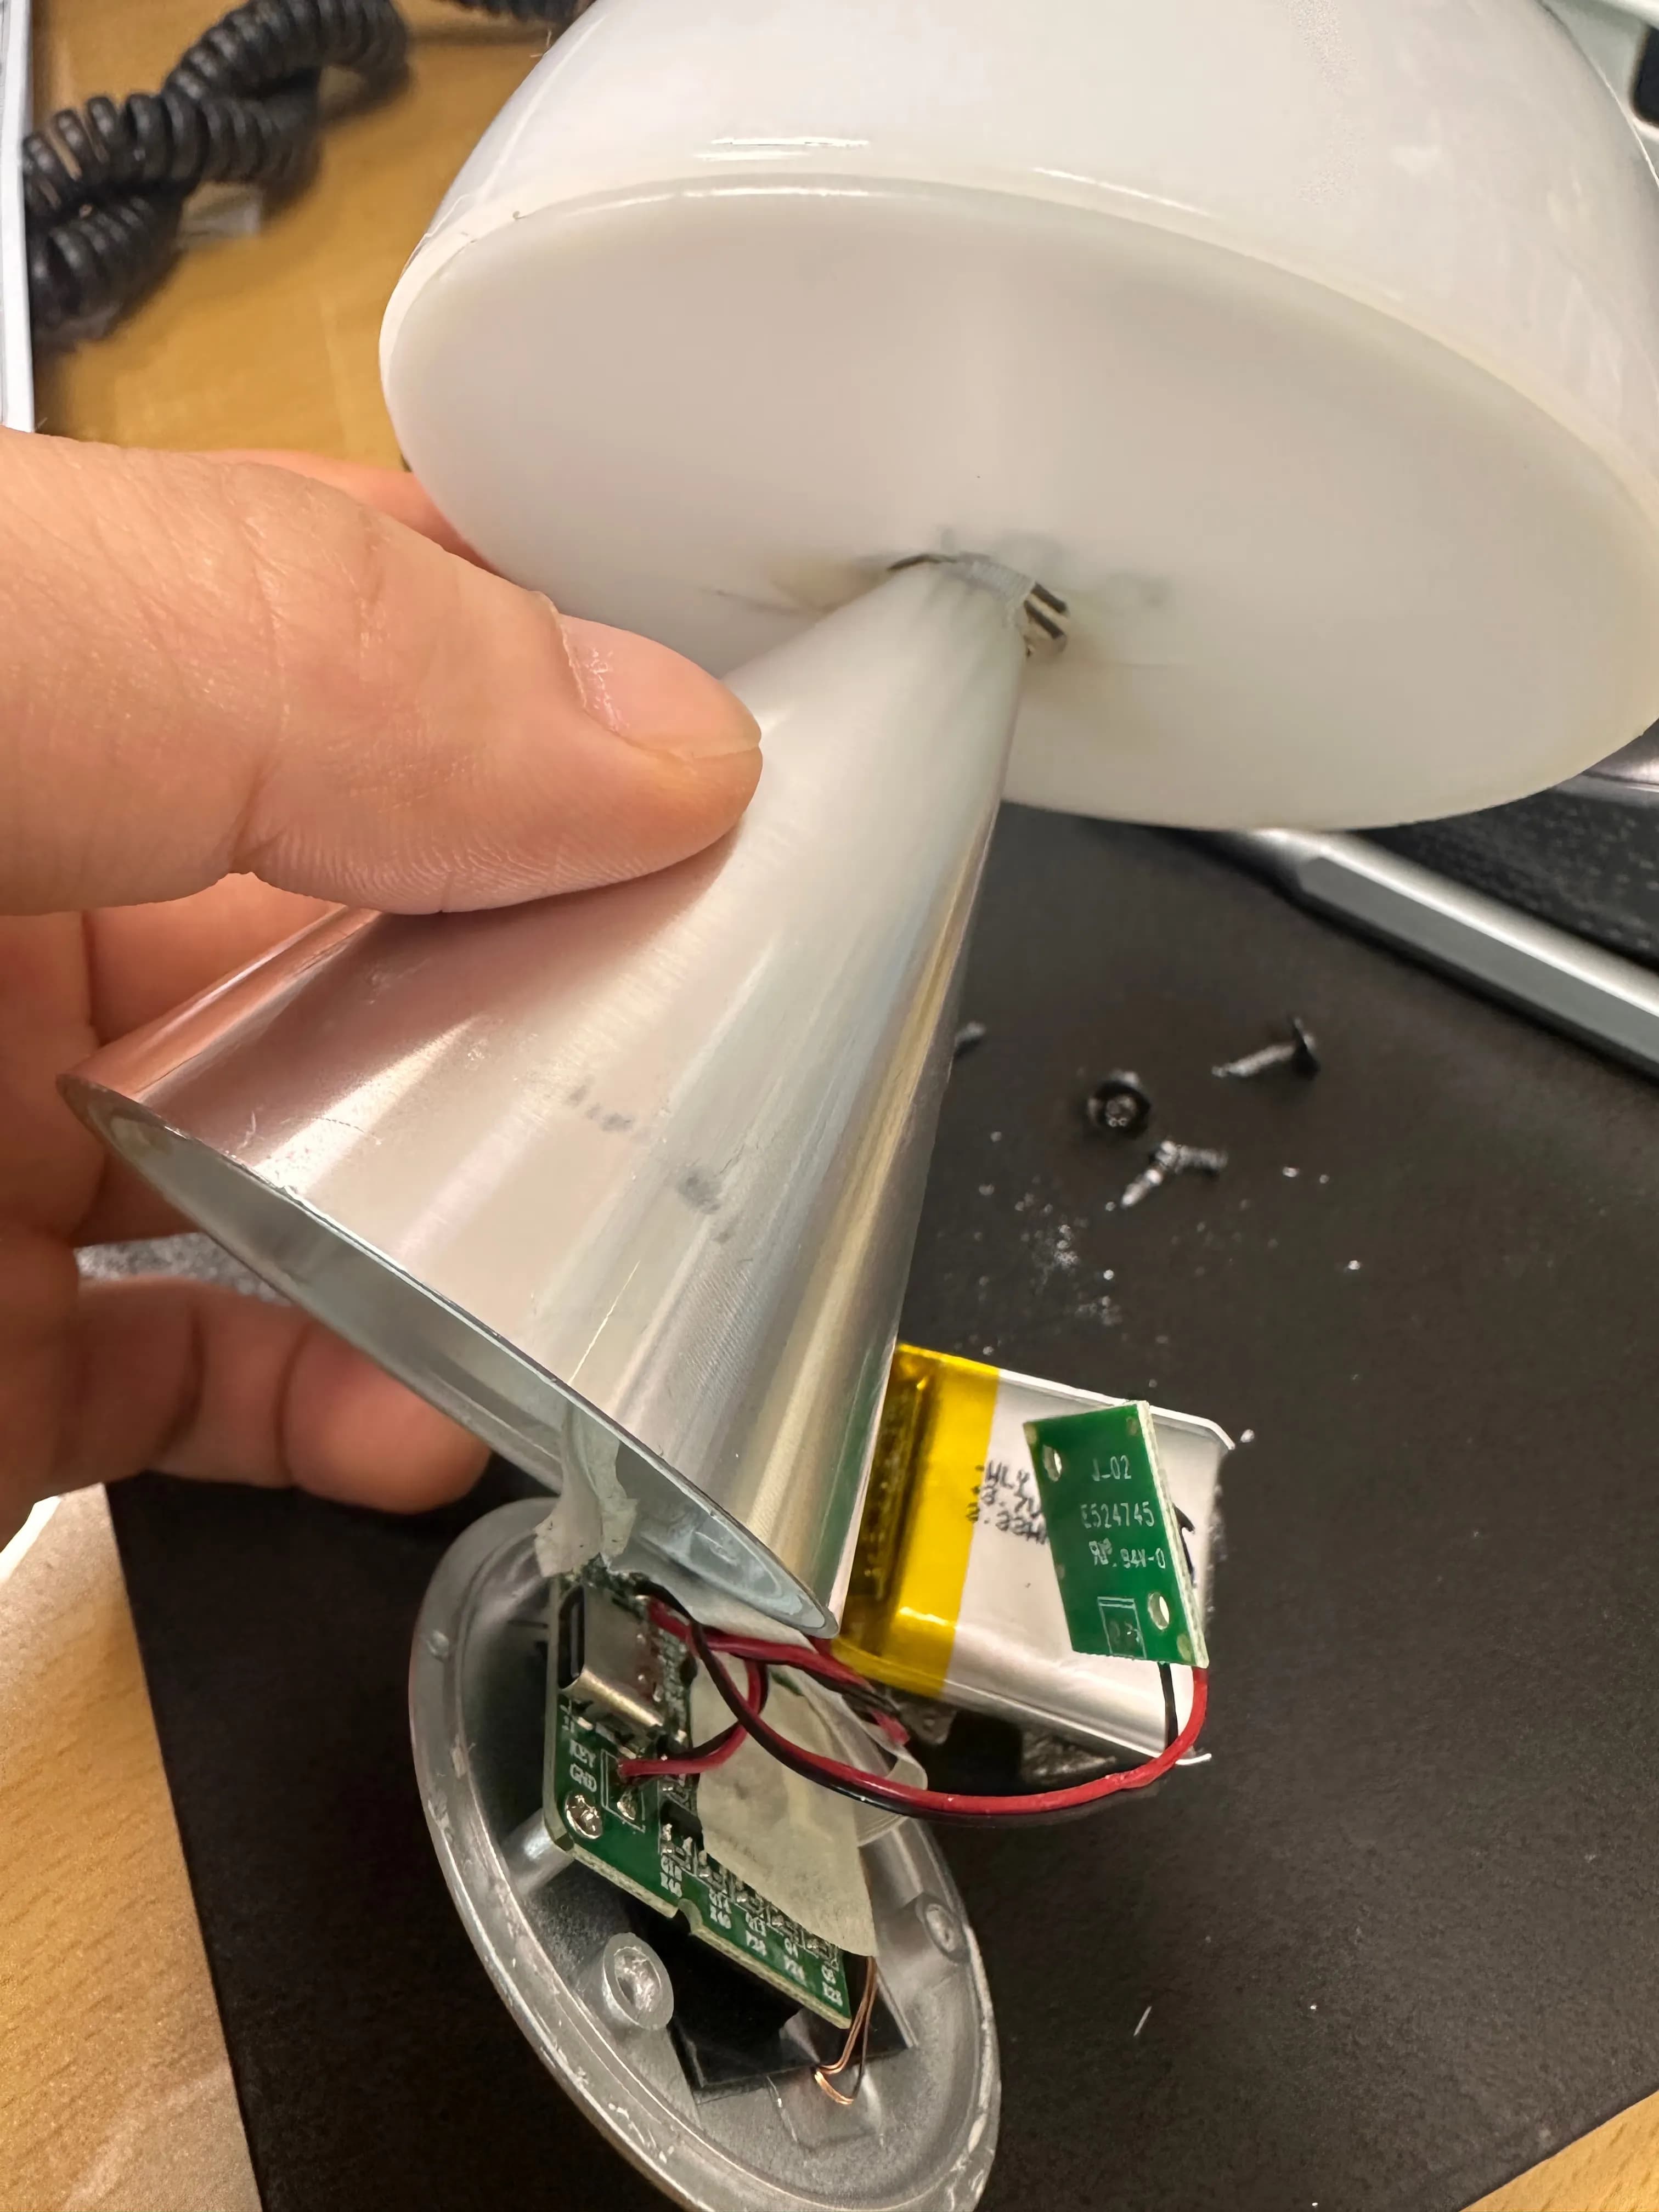
First I disassembled it to properly check the condition, then tried to “resuscitate” it with a plastic welder, but that failed.
While thinking about what to do, I noticed the lower tip was unexpectedly clean.
So I decided to reprint the bottom plate with a 3D printer.
1. 3D modeling
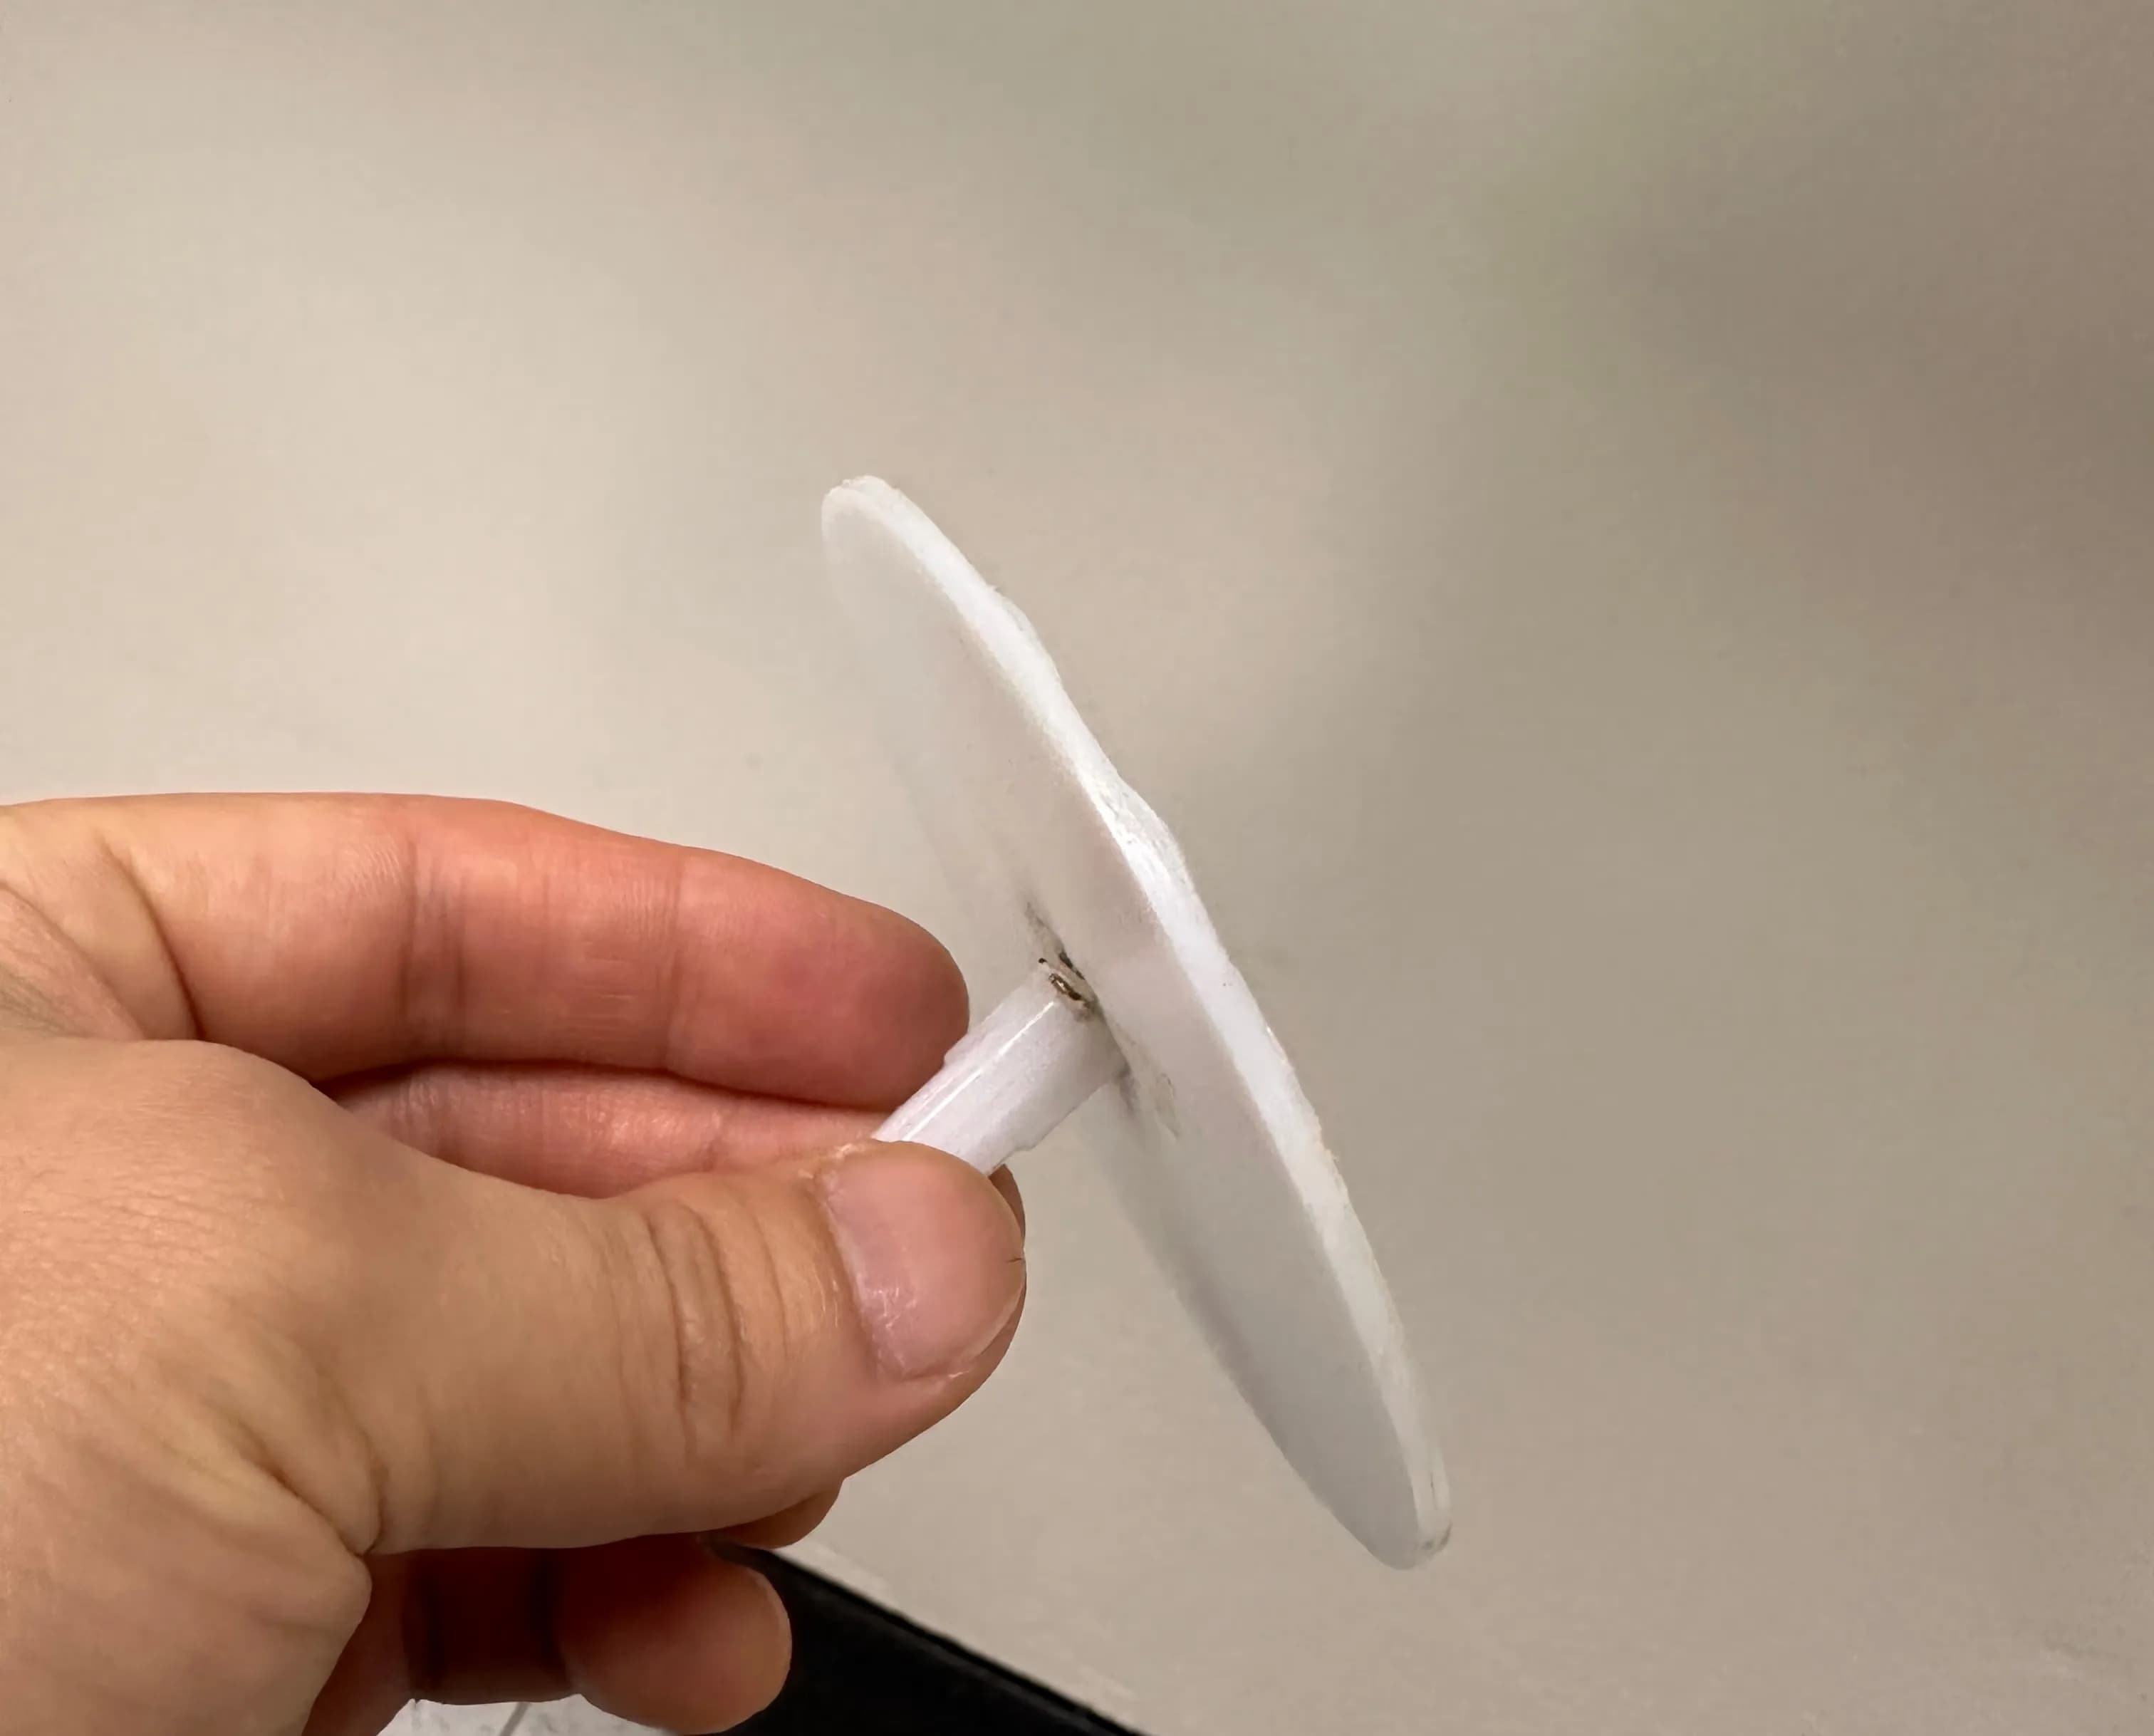
I sanded the end of the tip flat with sandpaper and decided to print a new bottom plate.
Measuring the bottom plate, the diameter was 90 mm.
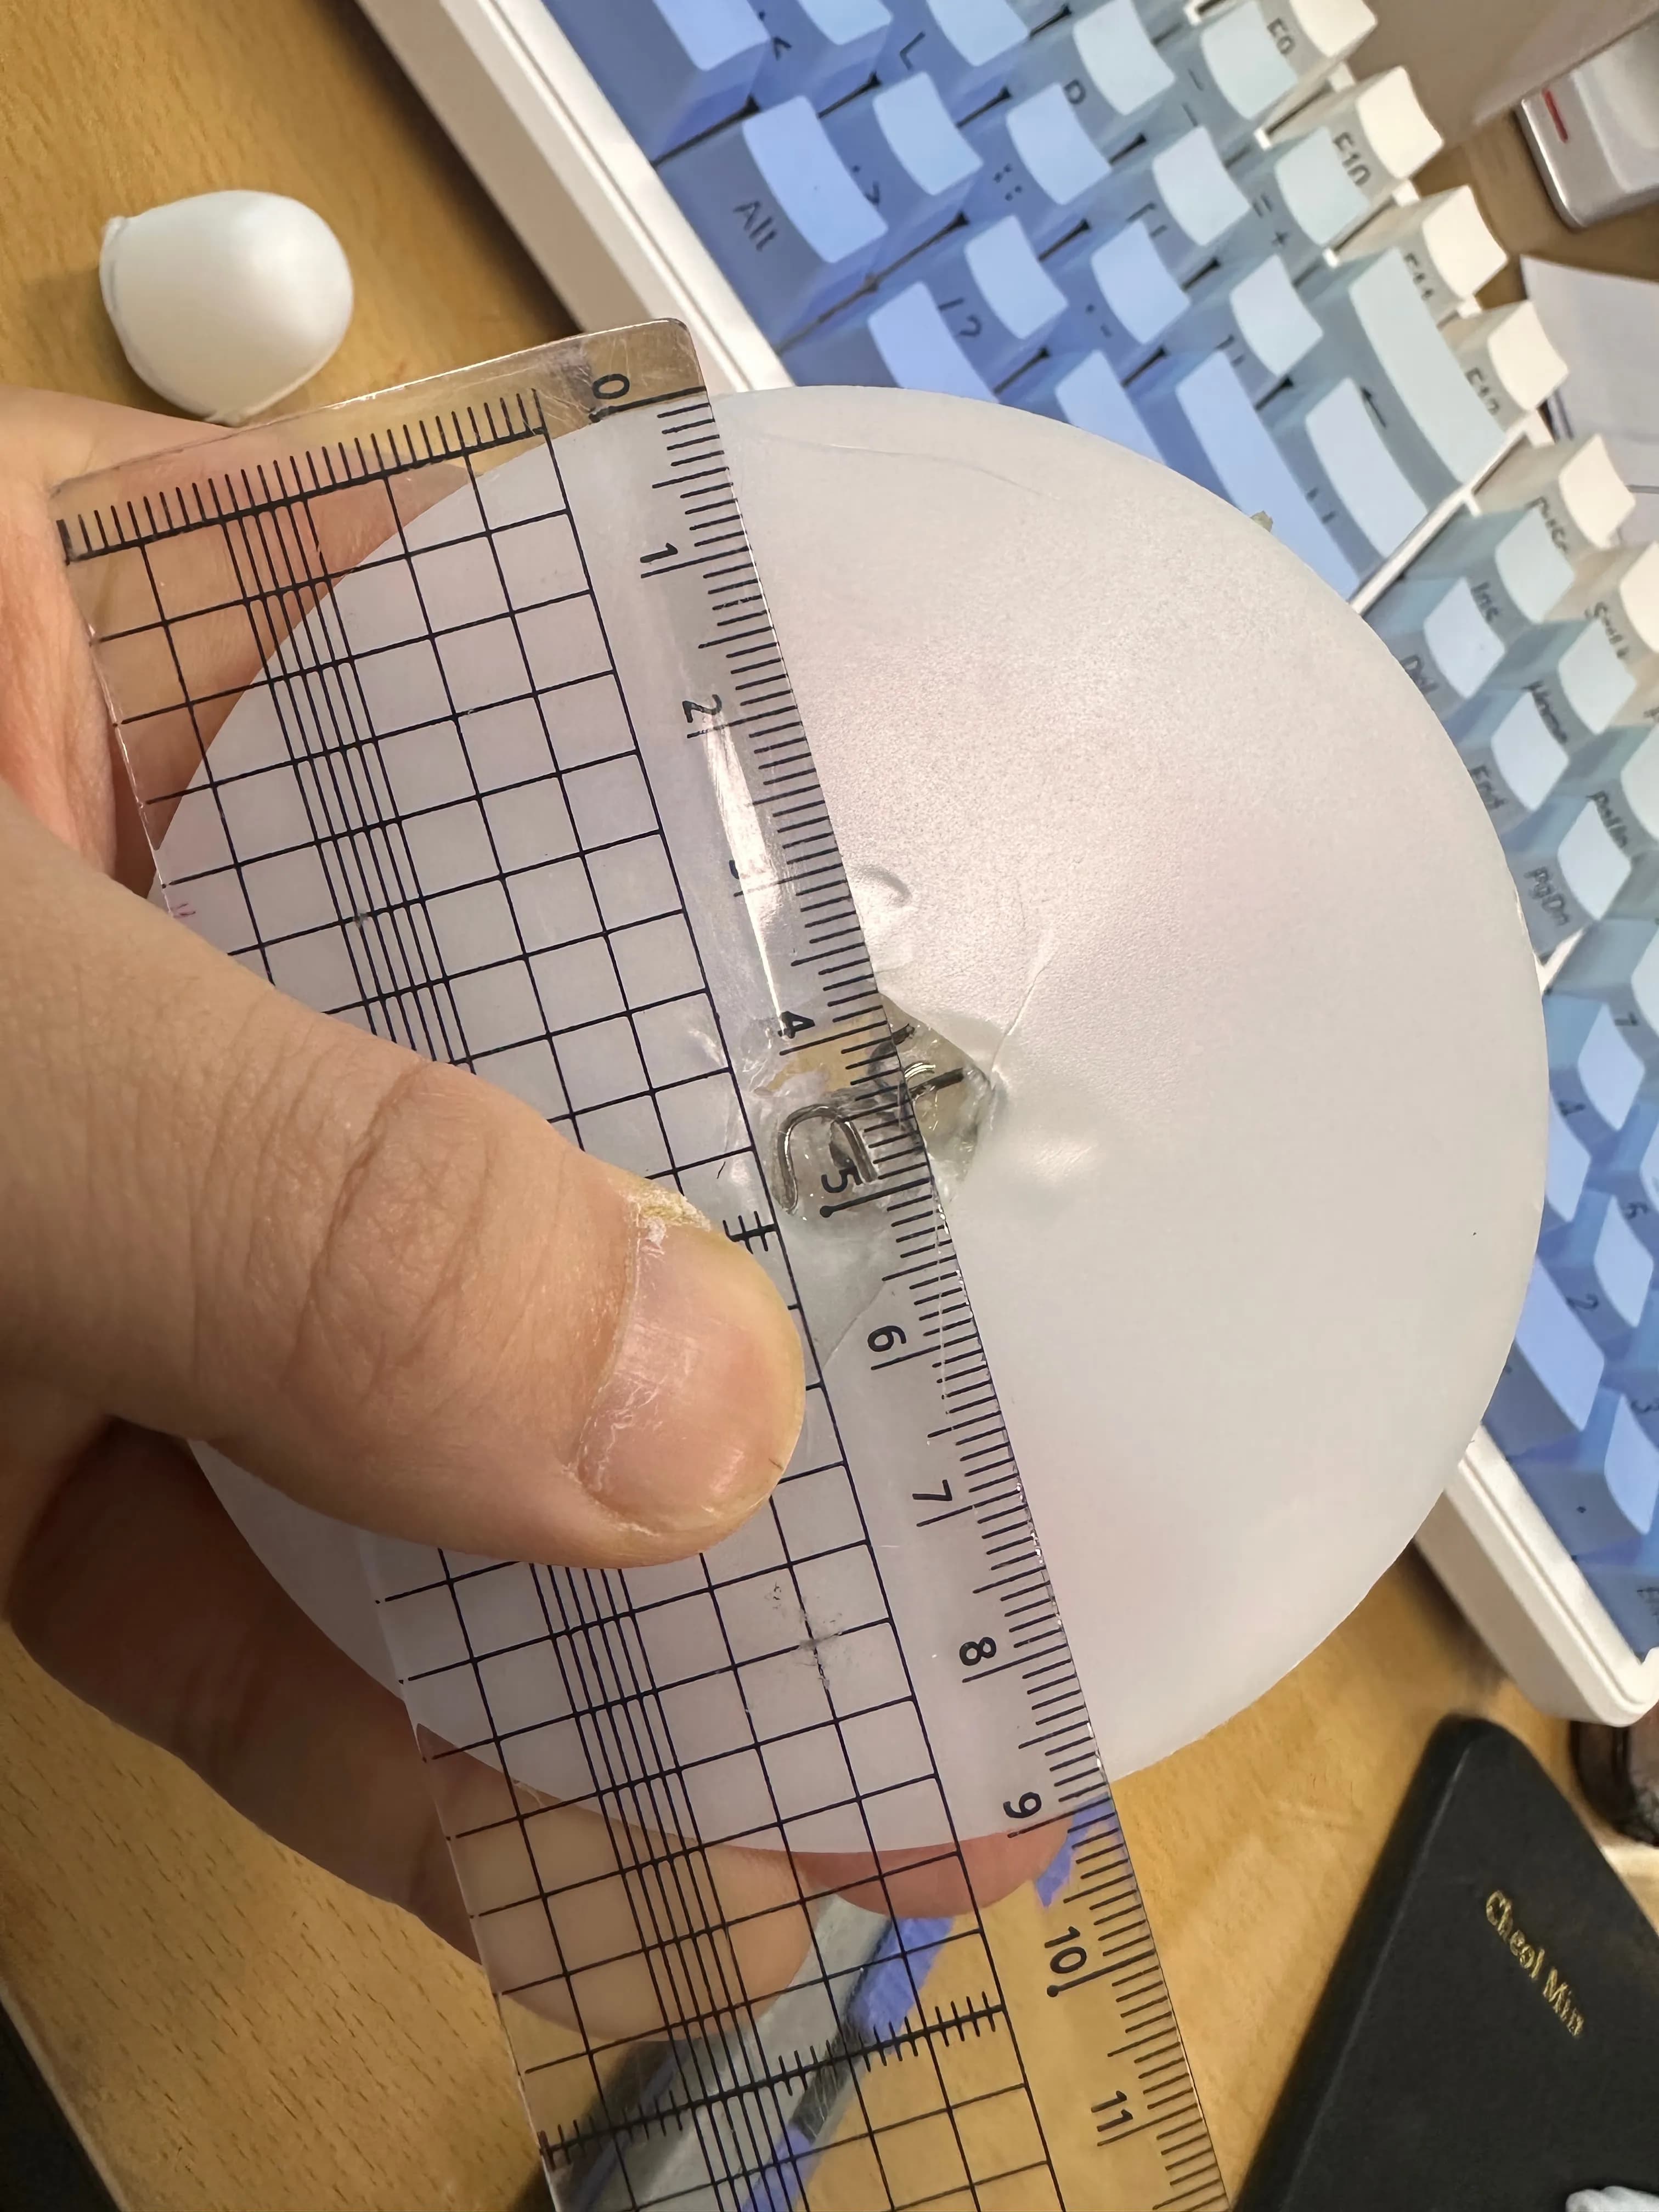
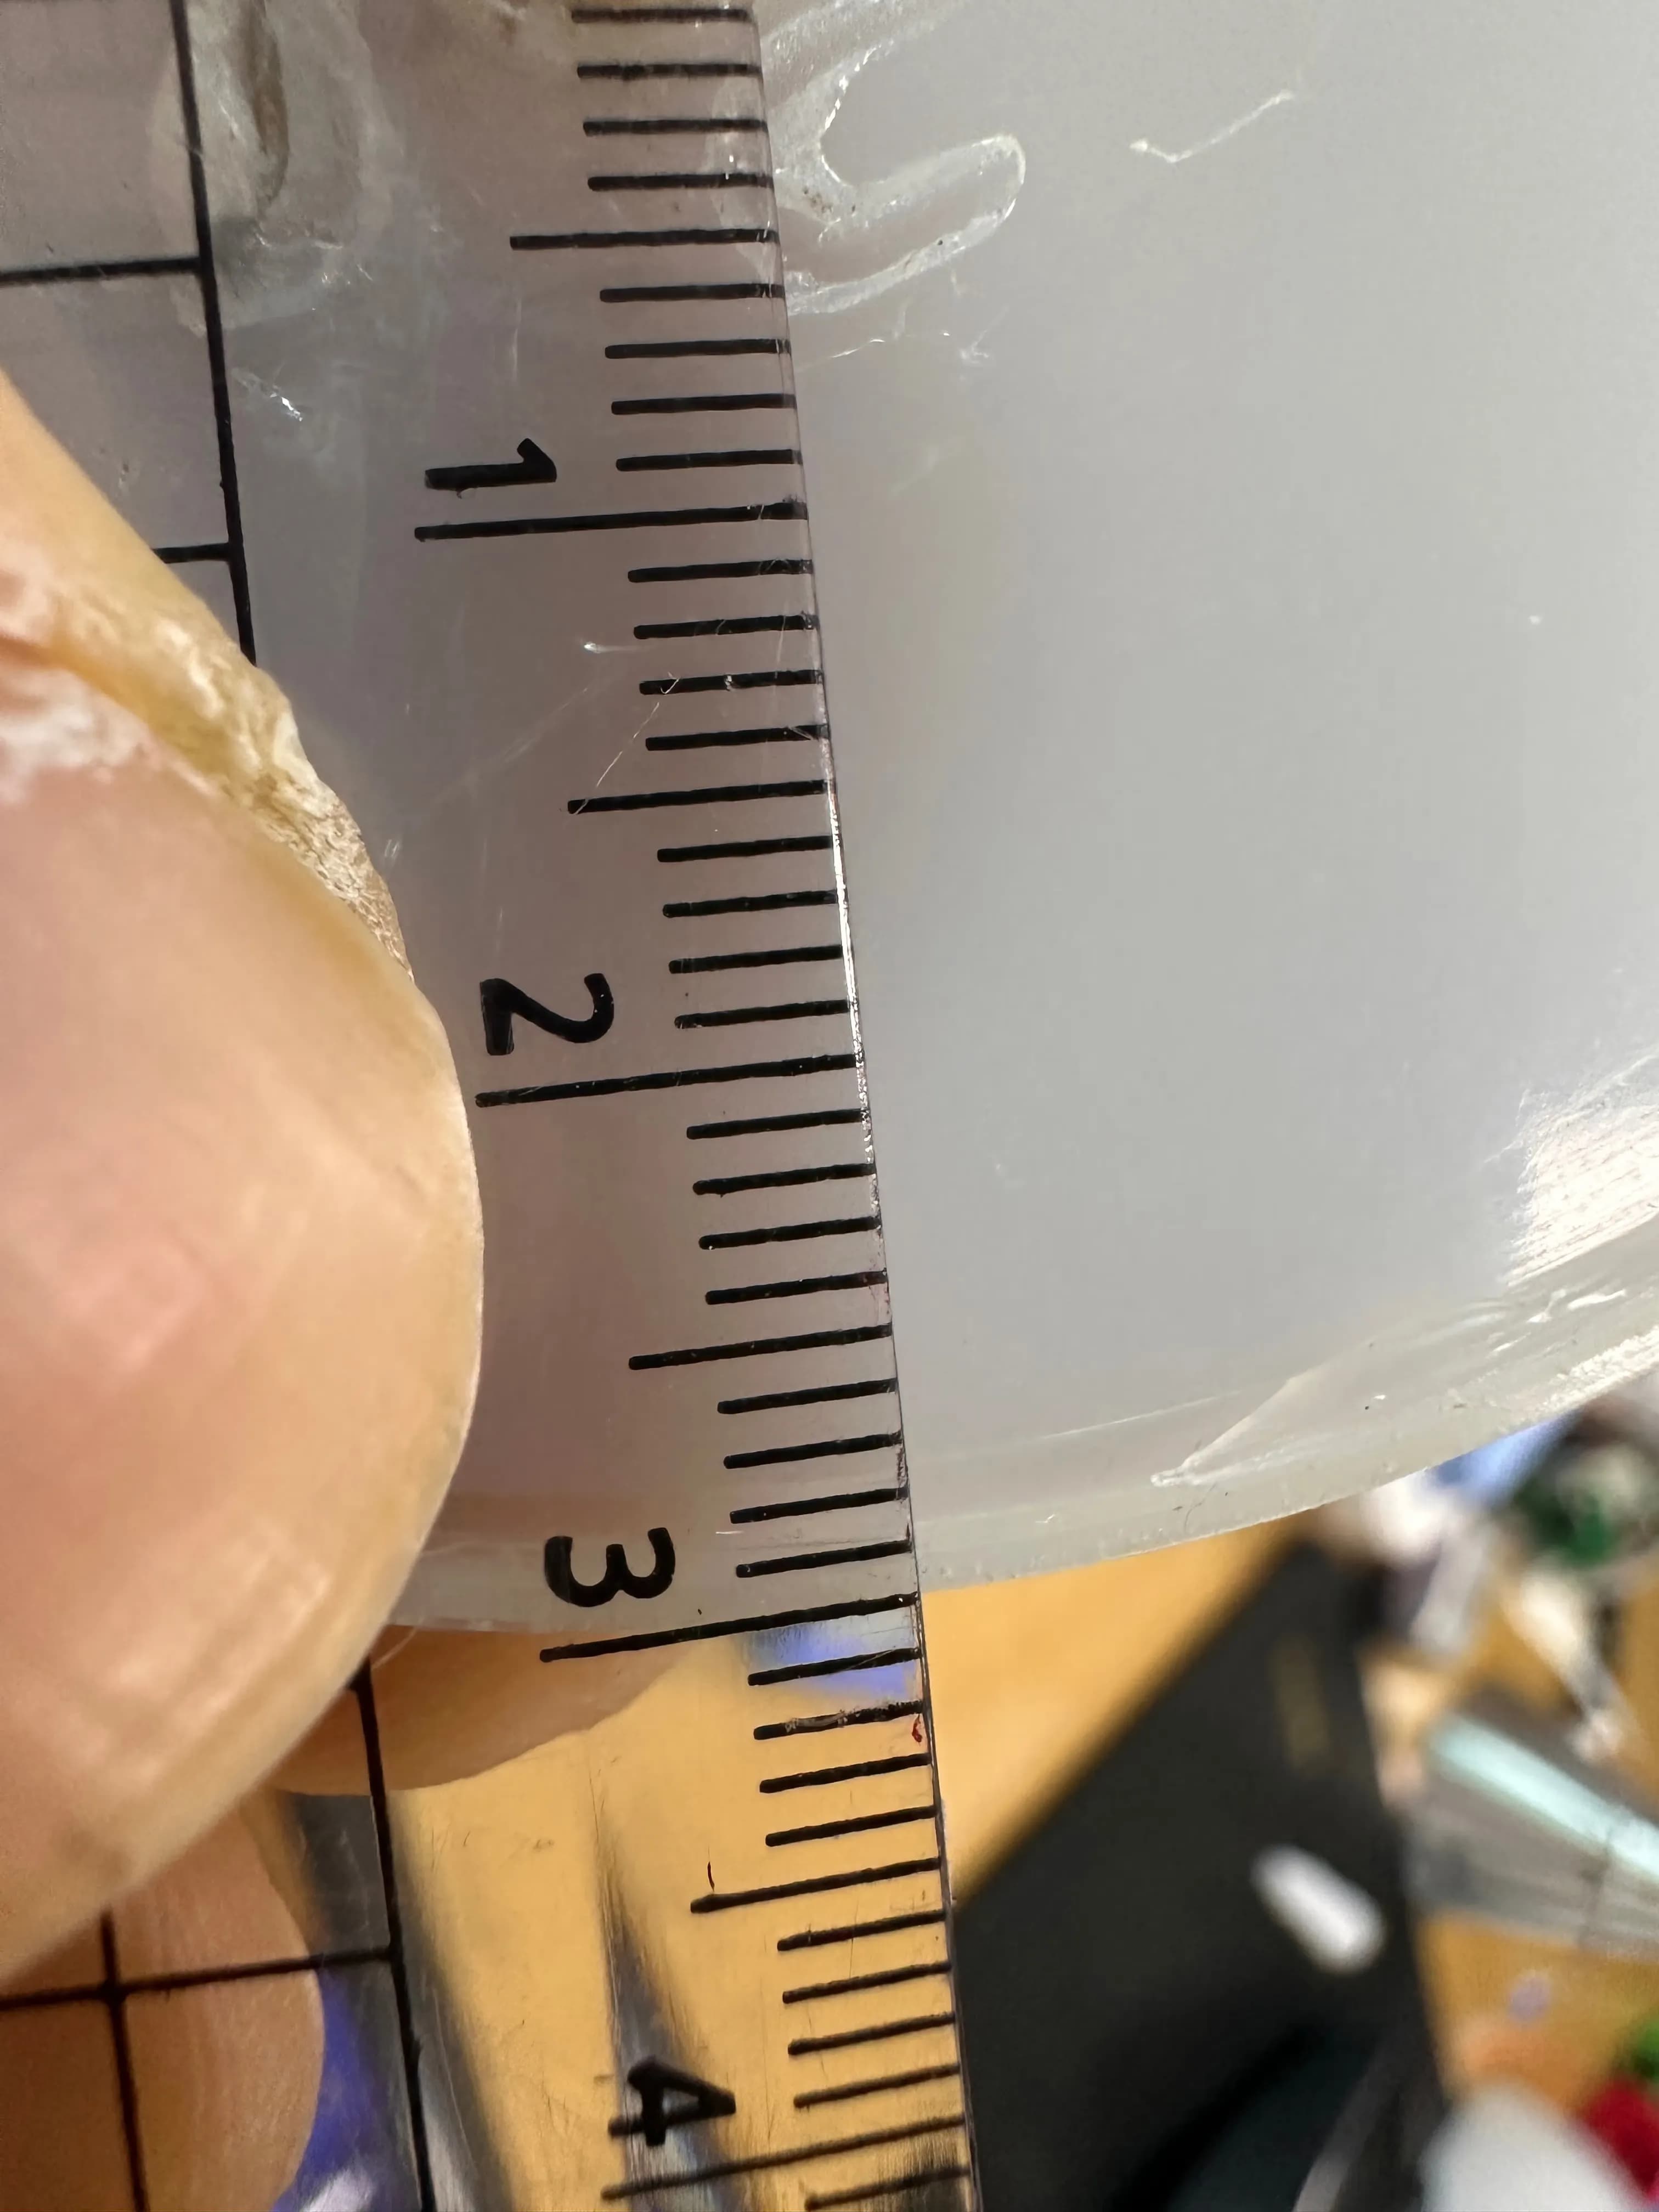
And at the end there was a groove about 1–1.5 mm deep.
This is where the lip of the upper semicircular part hooks in.
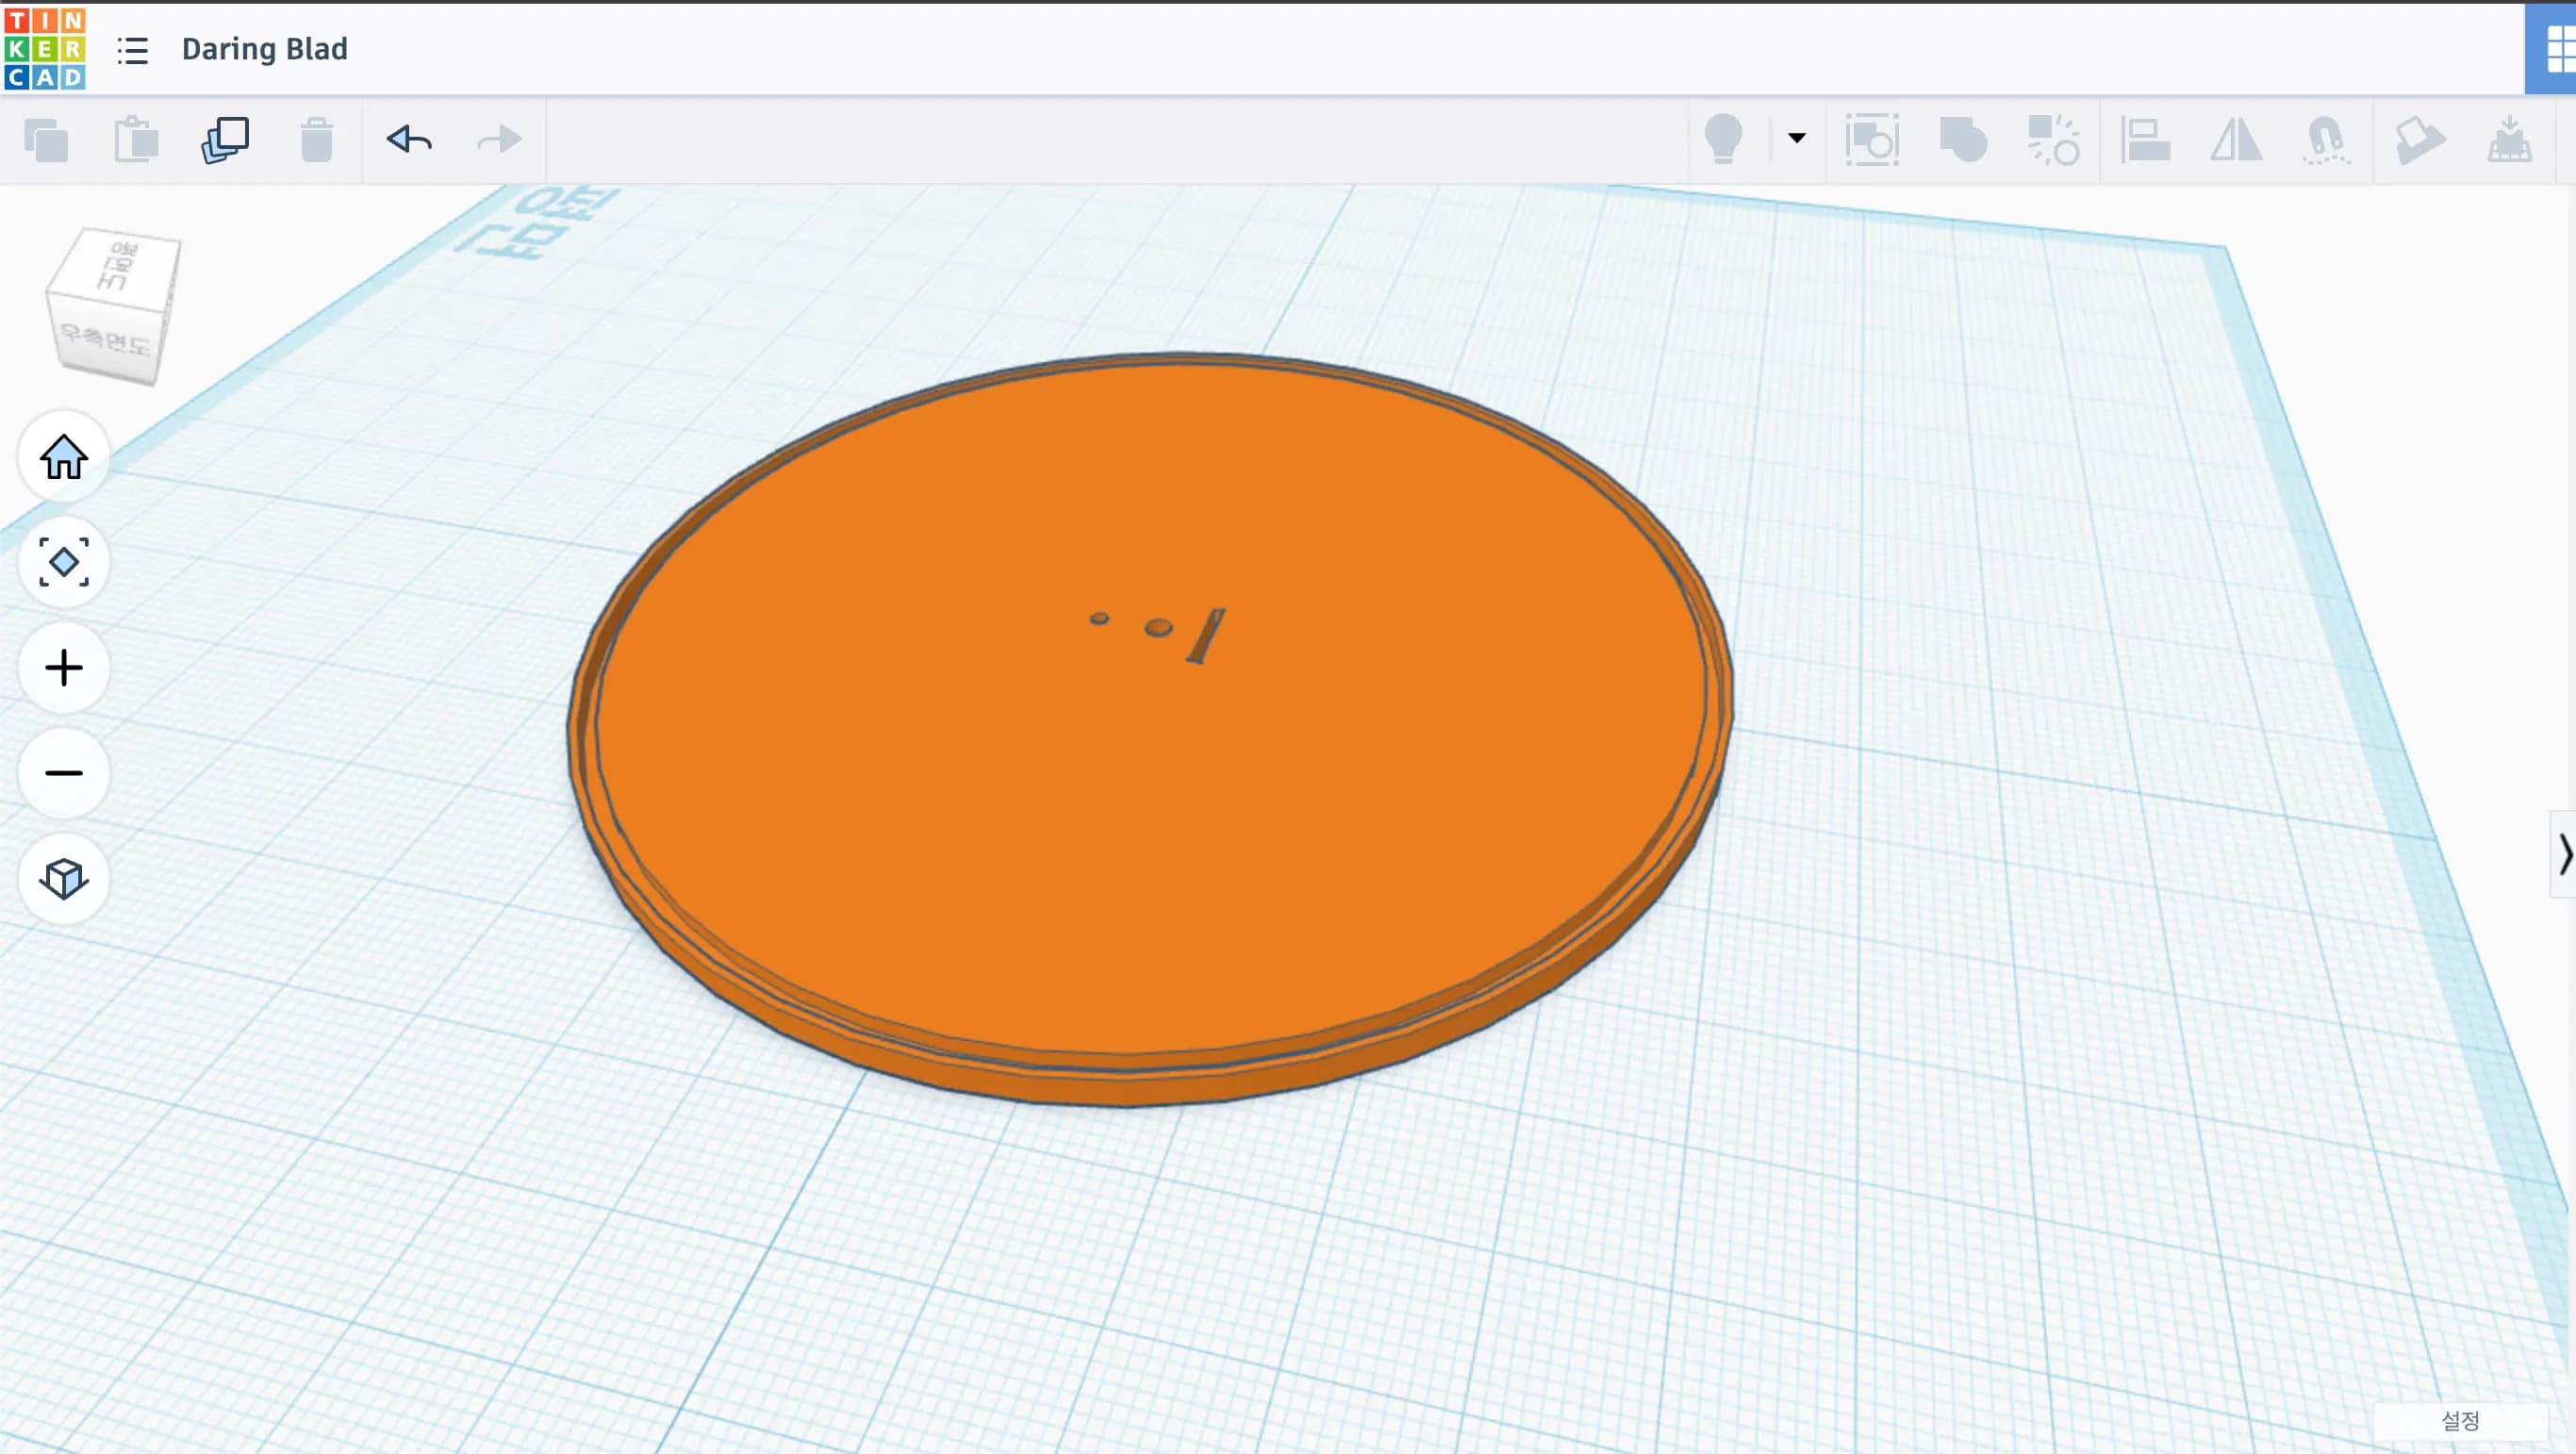
Since it was simple modeling, I decided to use Tinkercad.
Then I printed one as a test.
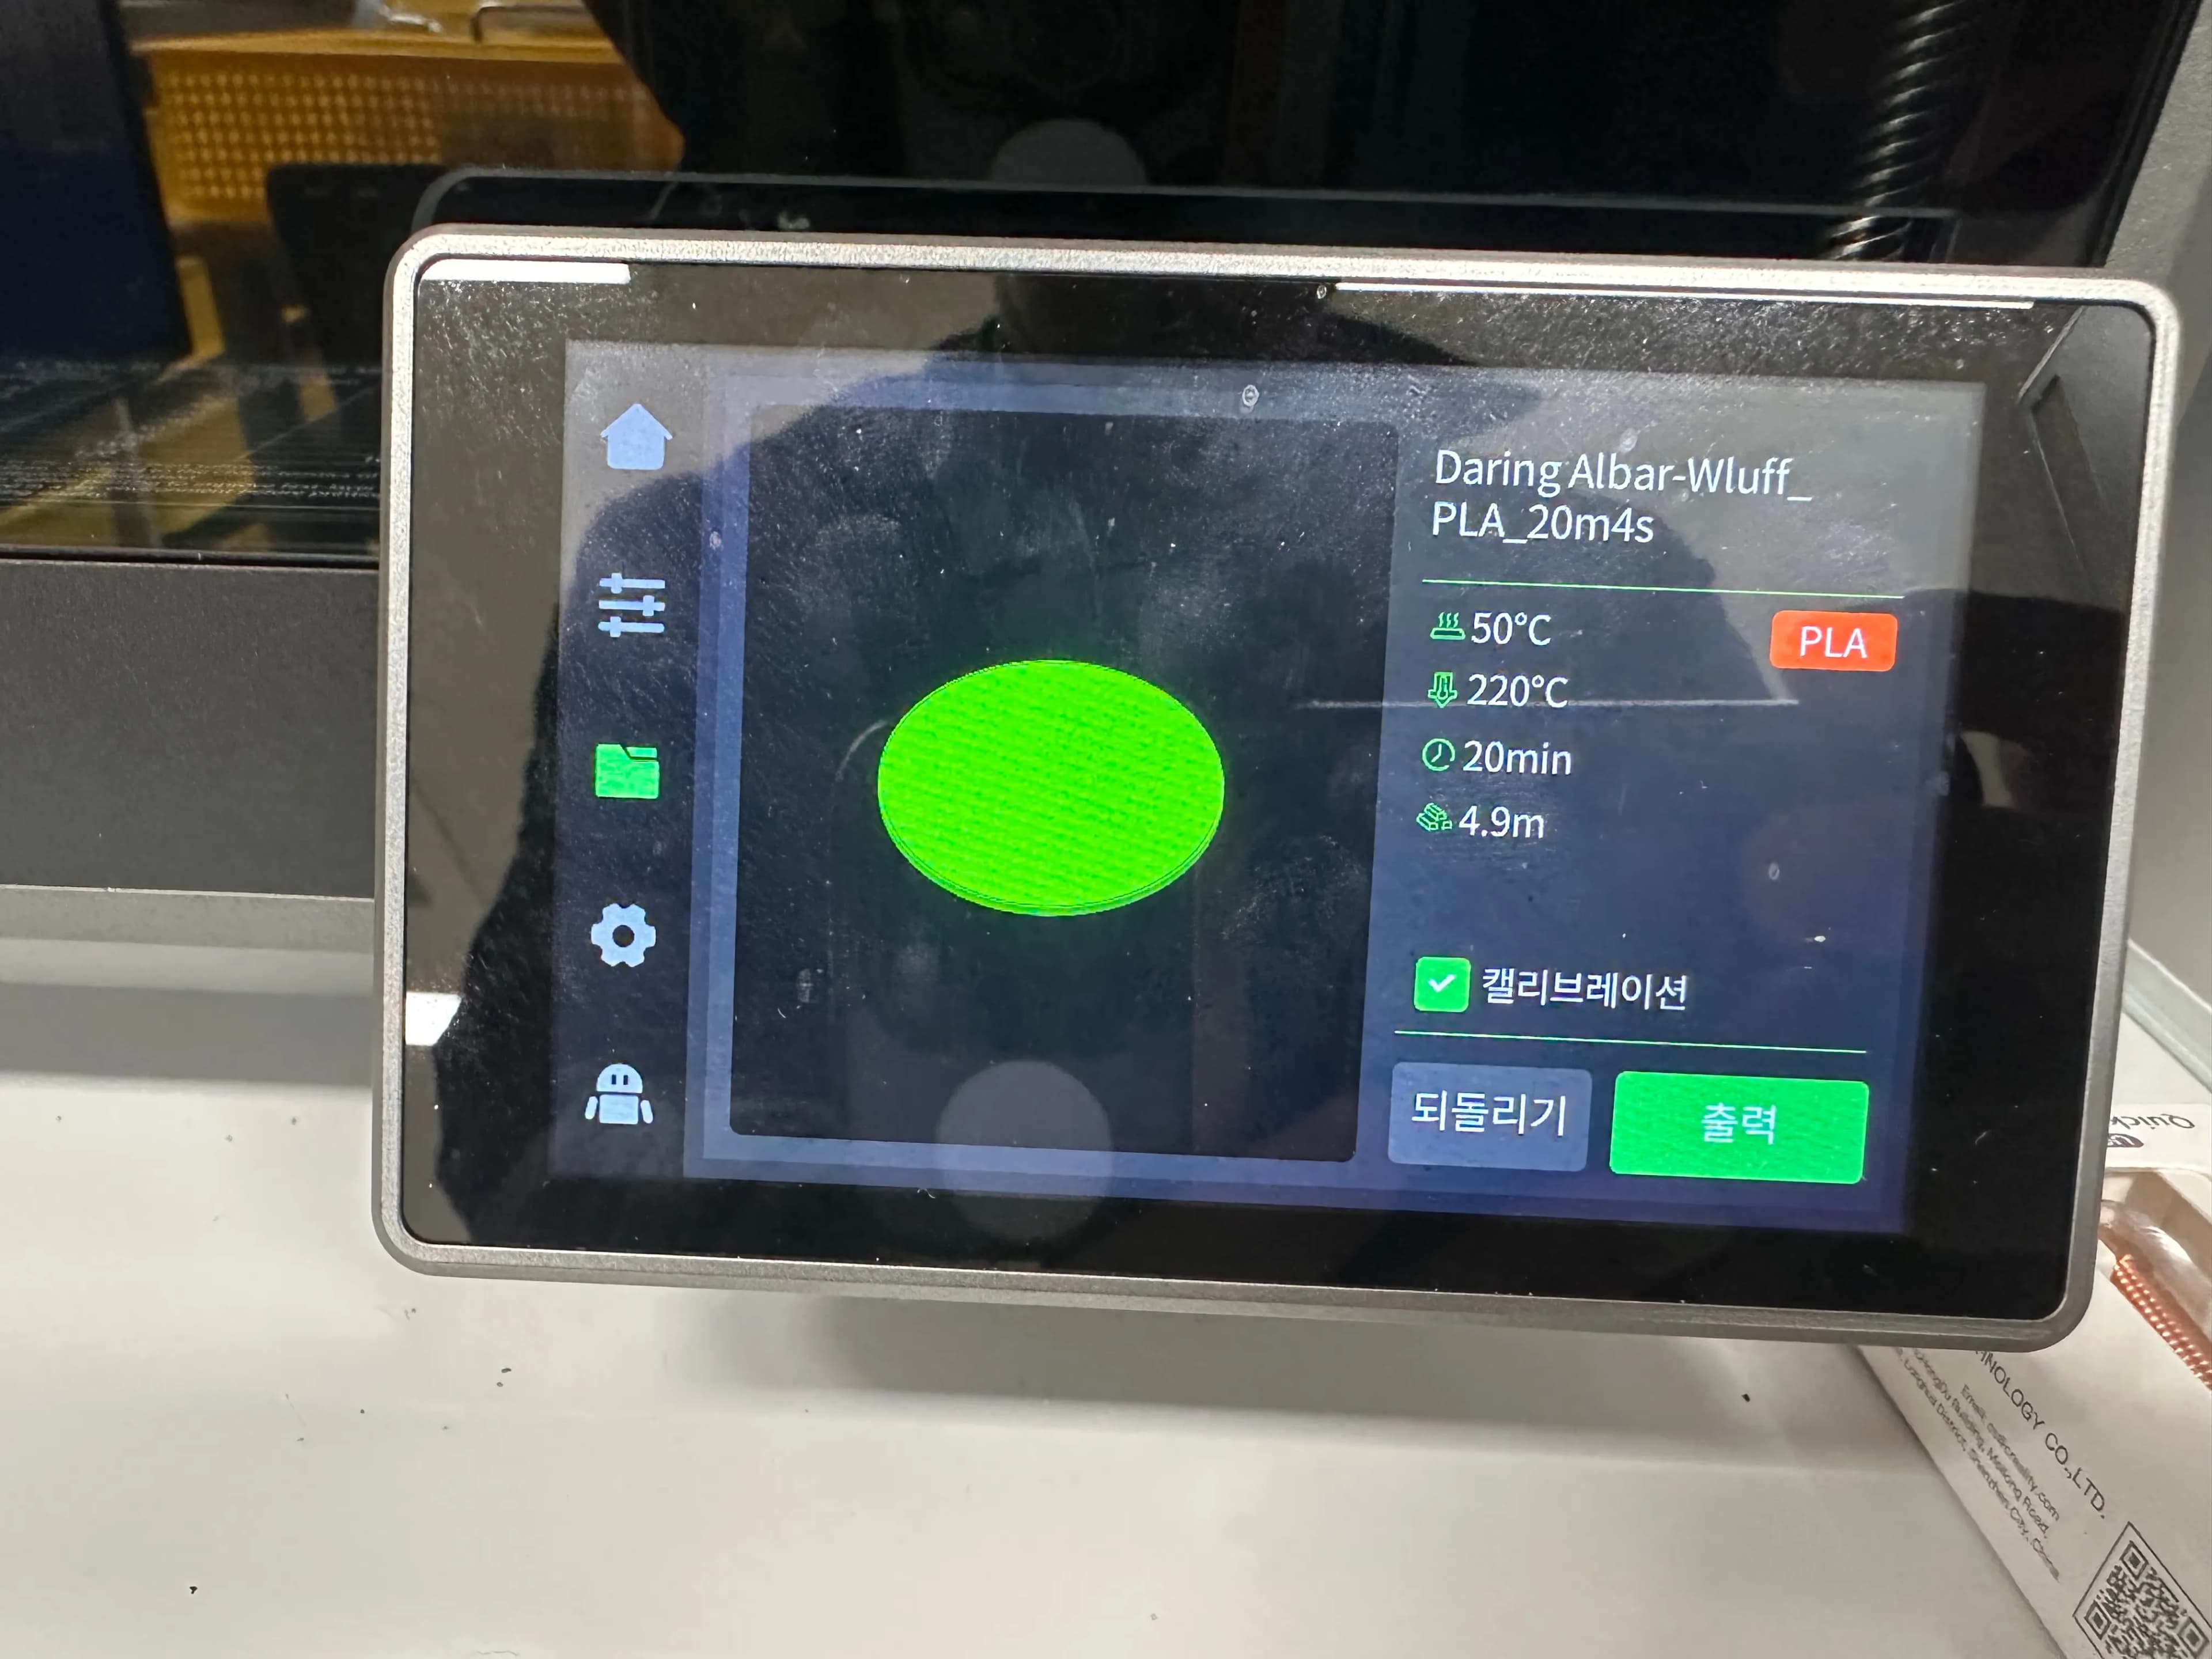
The first printed model didn’t fit well.
There’s a rail under the 3D printer, and possibly because of the vibration from that rail, the groove didn’t come out in the exact size.
So I increased the groove size to 2 mm.

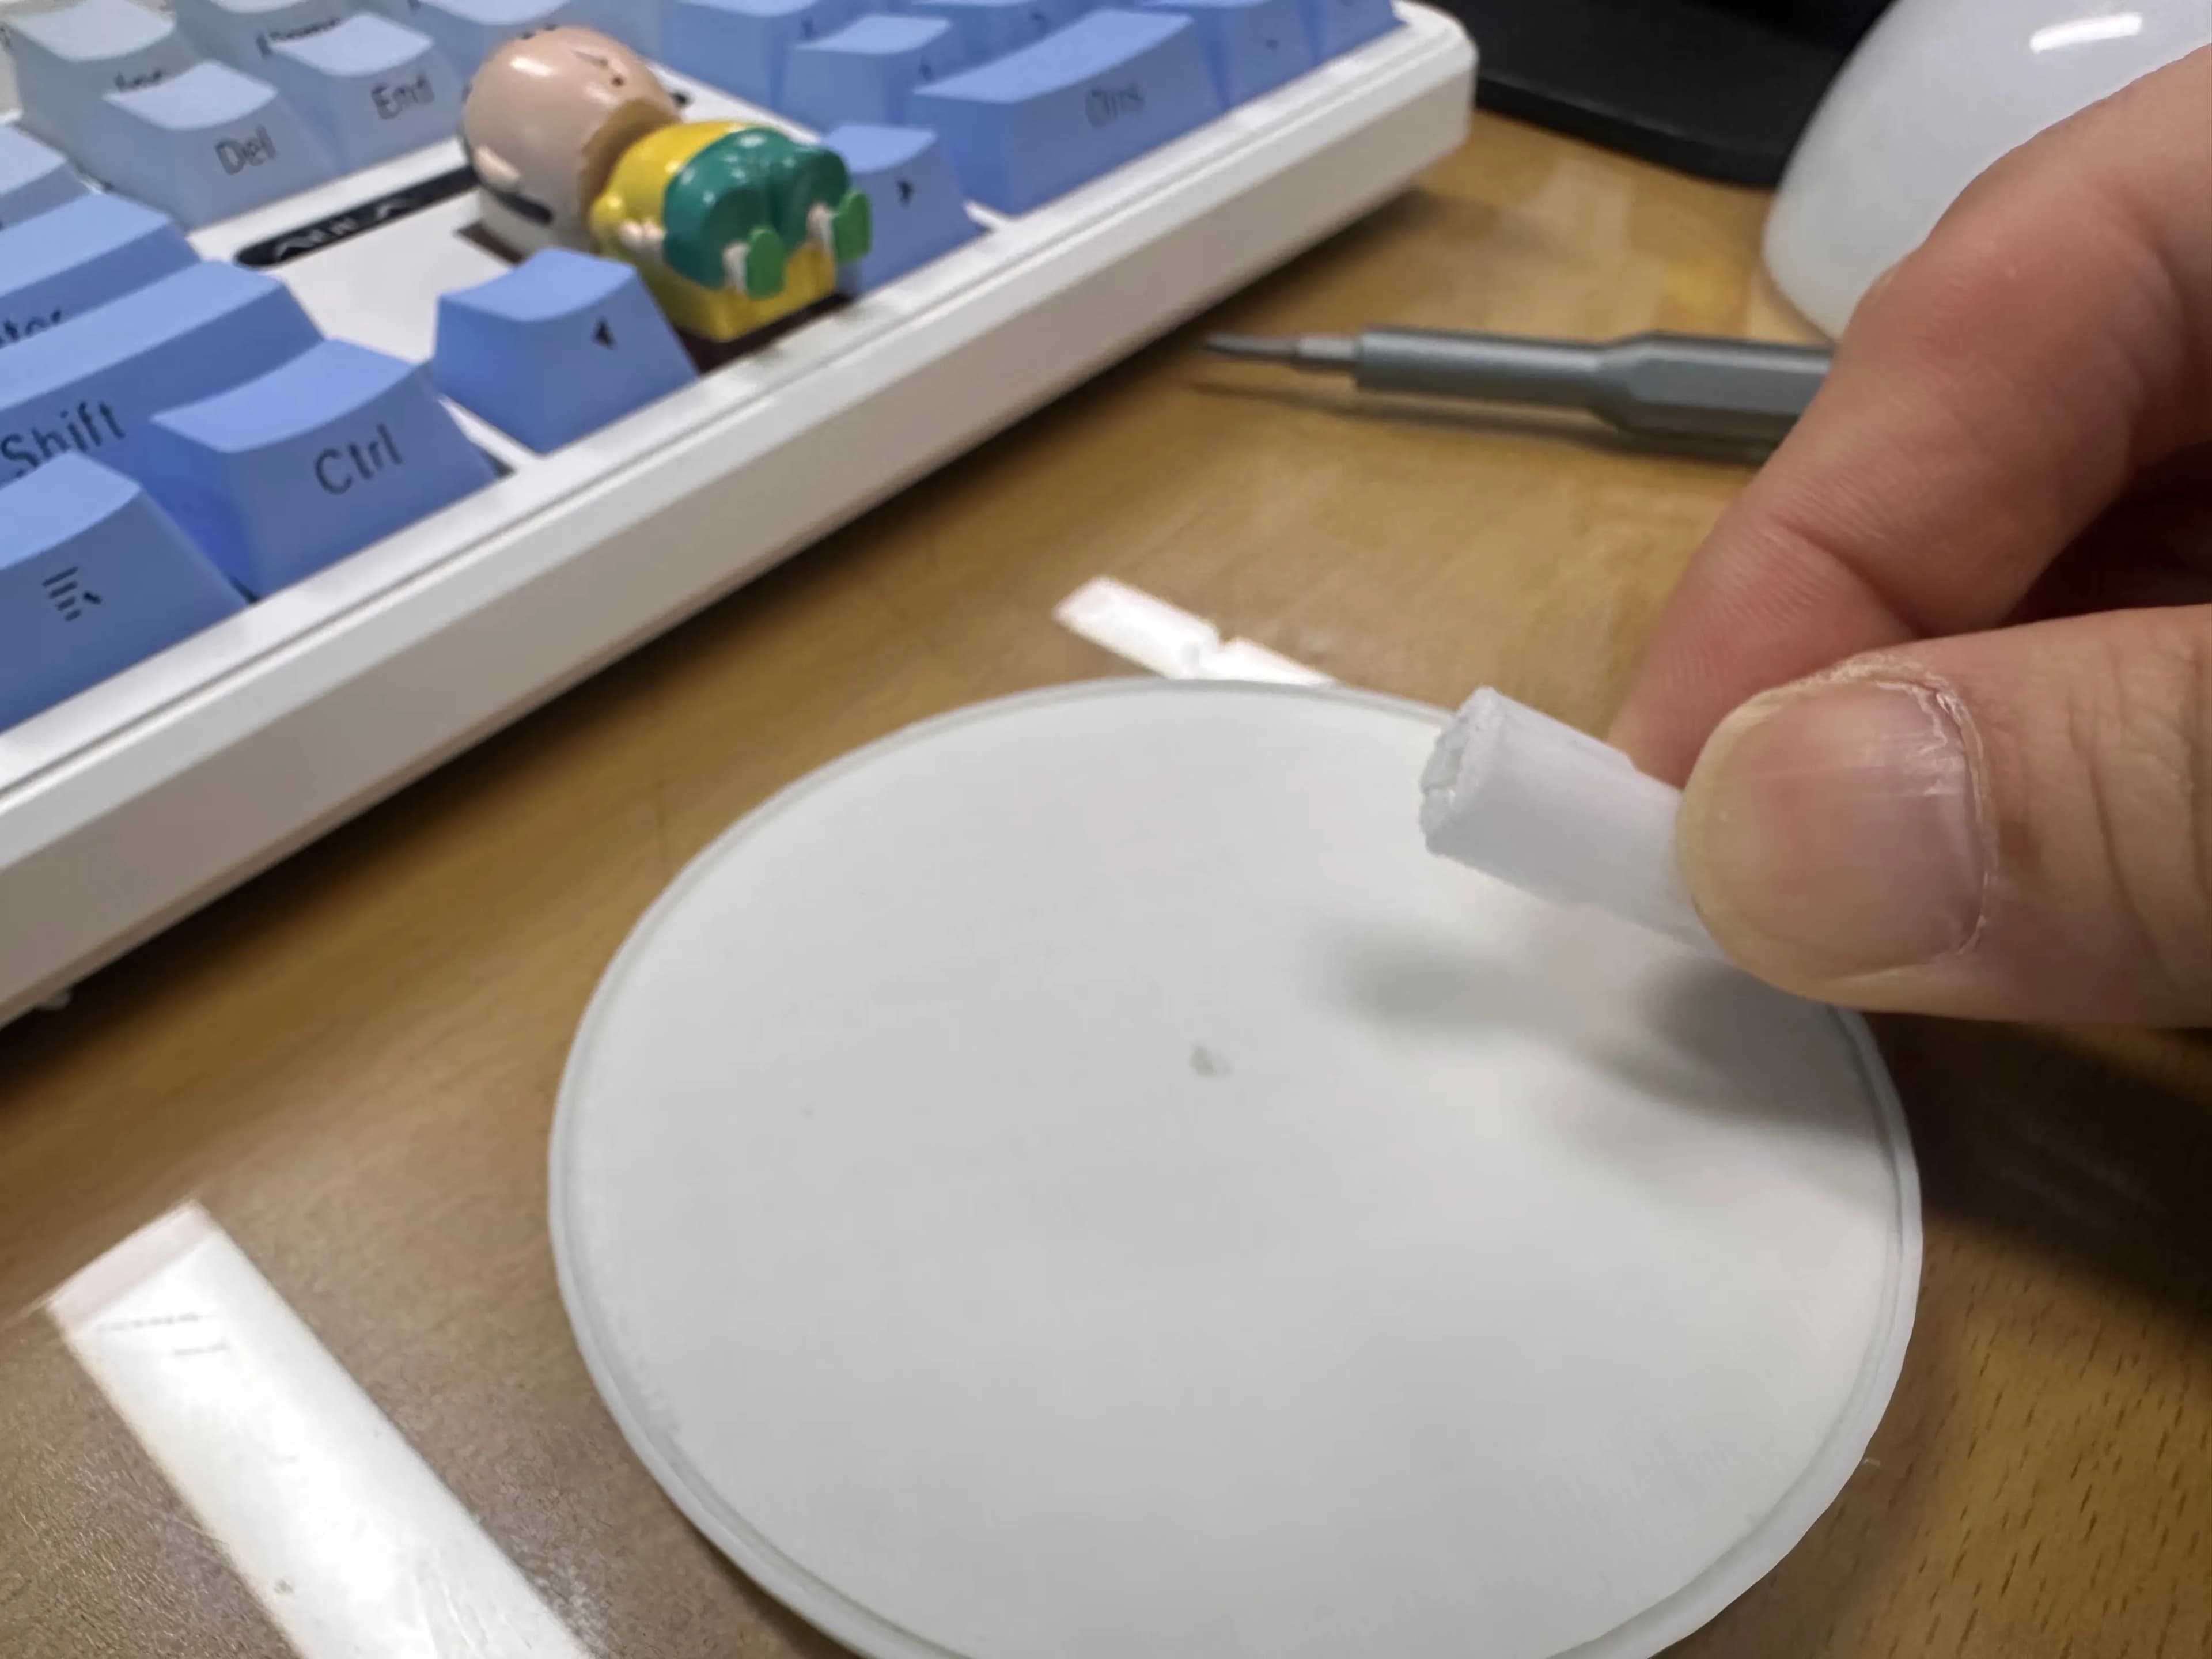
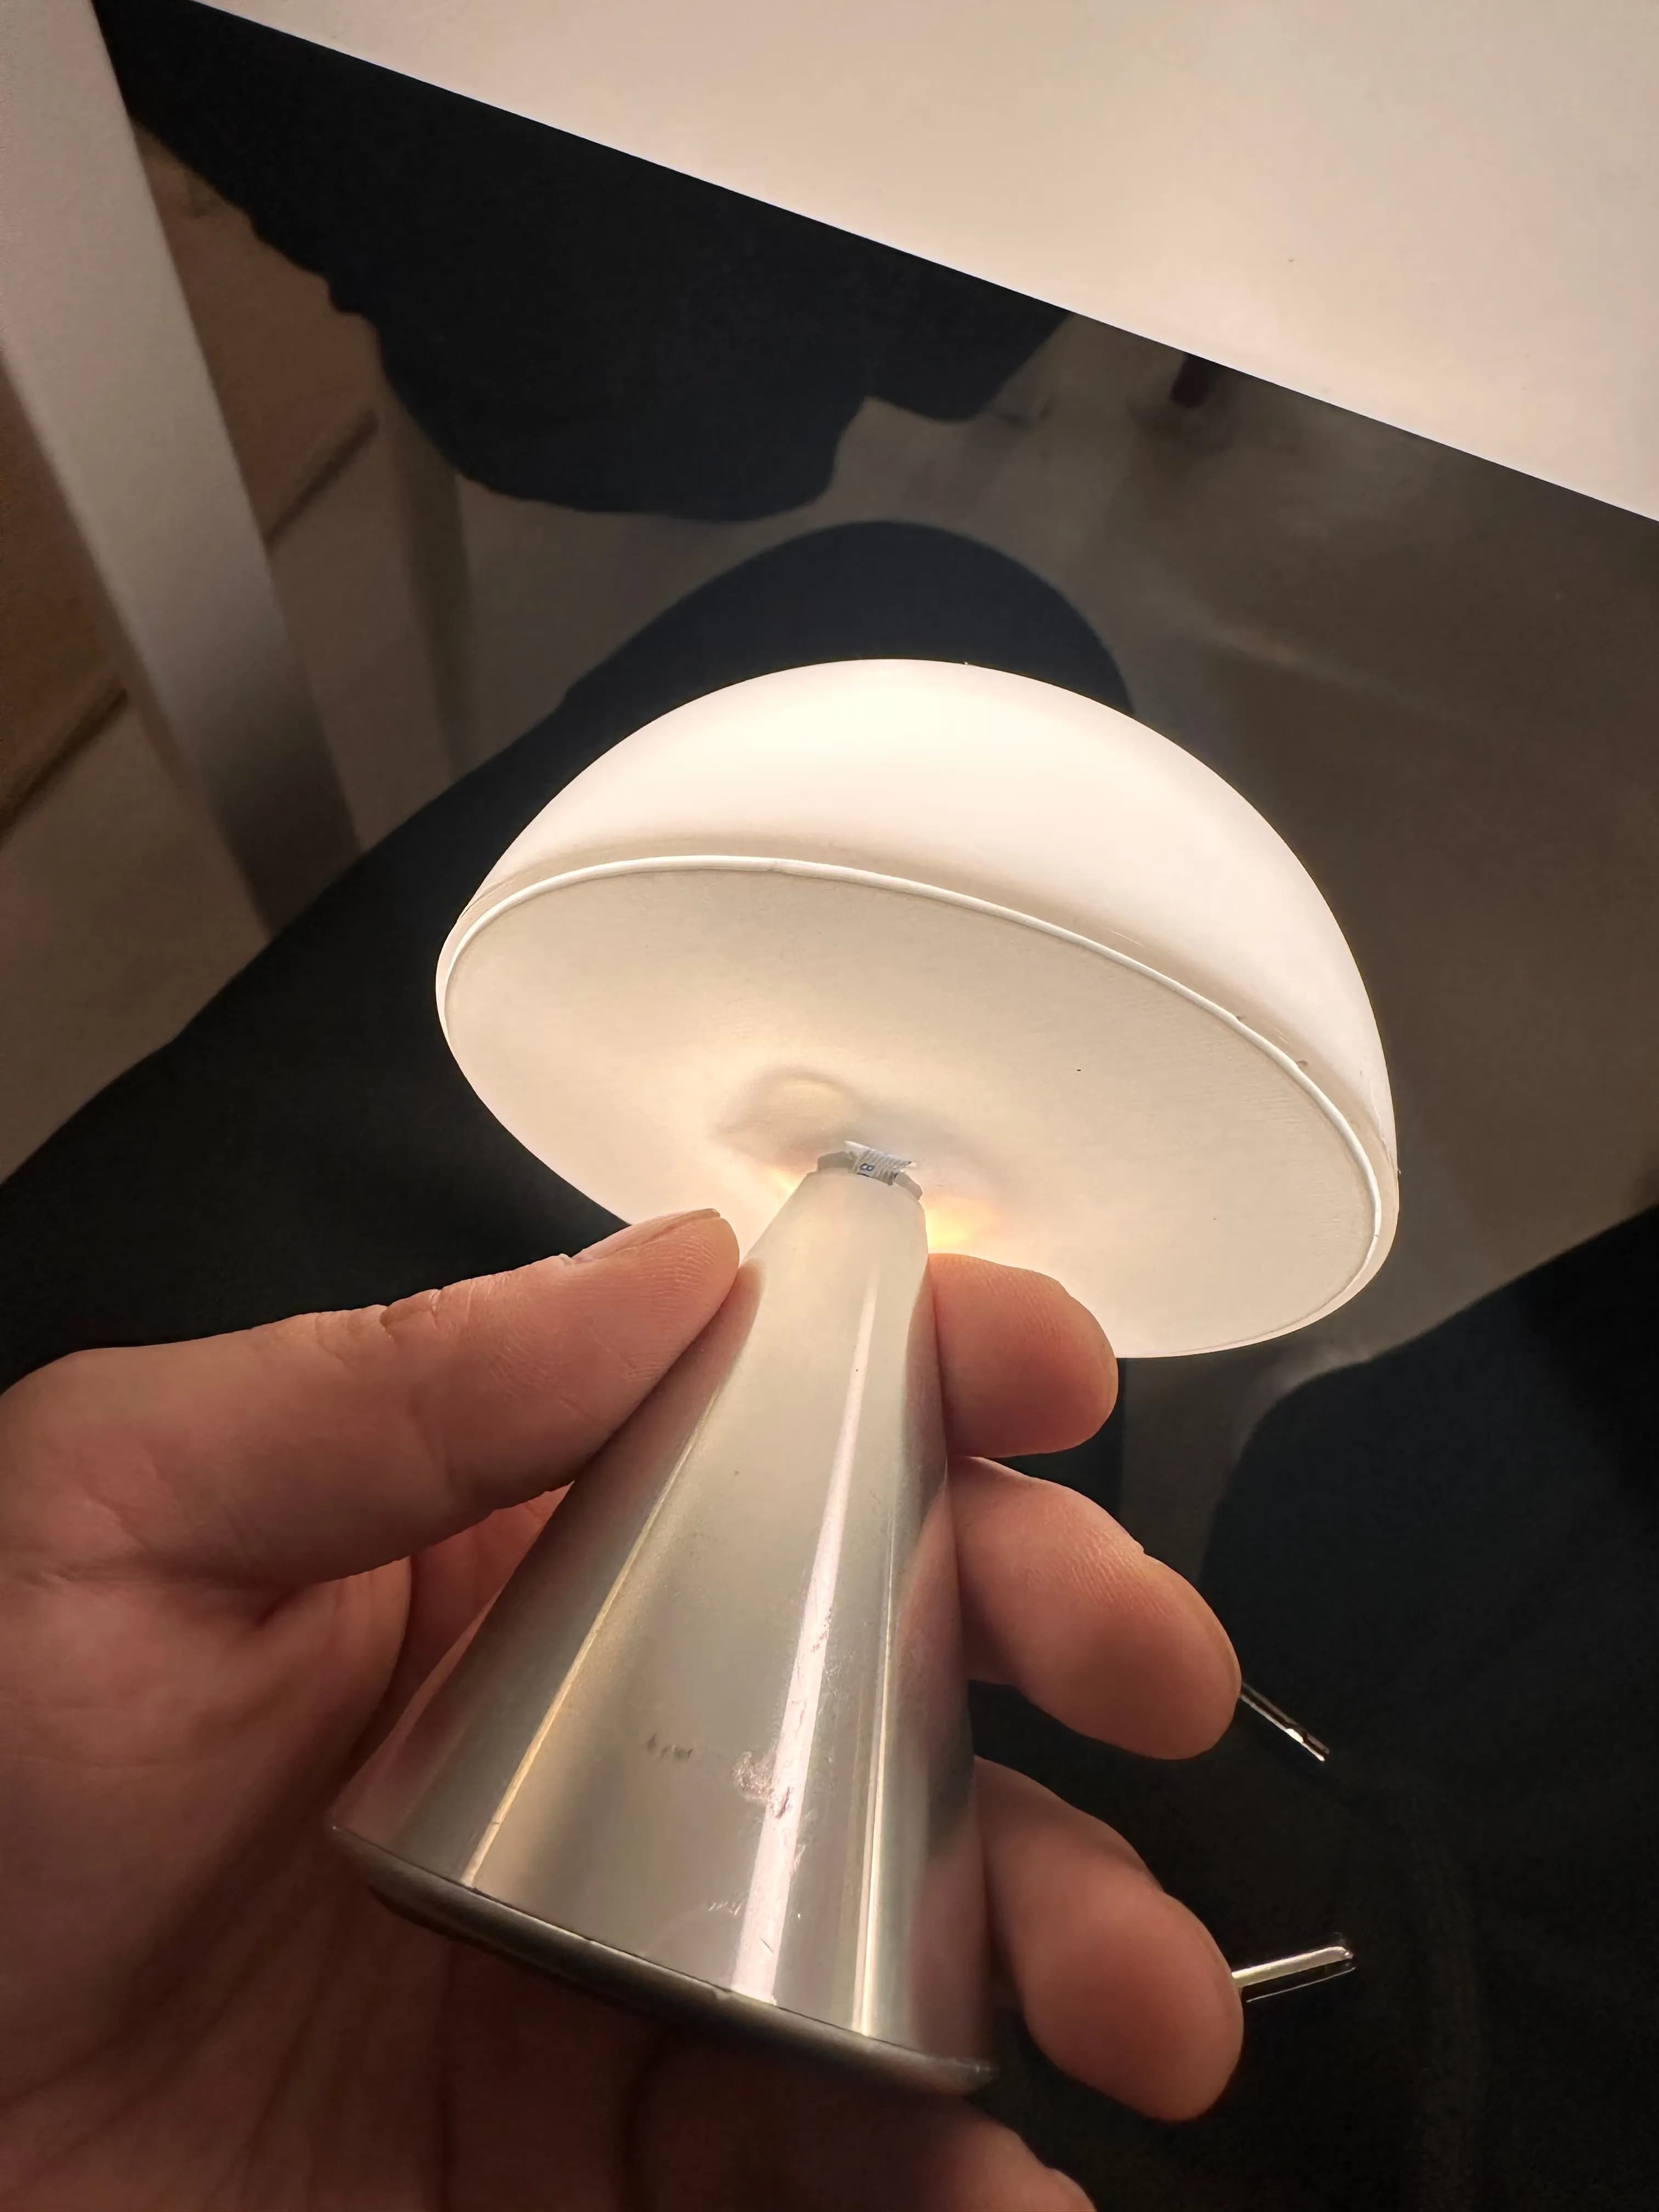
After assembling it with the tip part, it fit nicely.
But I hadn’t added the opening for the light’s power cable or the part to secure the lamp, so I went back into CAD and edited it again.
The one at the bottom is the finished version.
Now I just had to print it and assemble everything.
2. Repair review
LEXON MINA isn’t exactly a cheap light, so the fact that there’s no after-sales service is a really serious drawback.
It’s a pity that when it breaks, you have to fix it yourself like this.
I made the bottom plate white, but since it’s on the underside you can’t really see it, and it fits just like the original one.
If the filament had been slightly translucent, it probably would’ve matched the original perfectly.
Still, I’m quite proud that with sheer persistence I managed to repair a 50,000‑won lamp.


댓글을 불러오는 중...